Rate this article :
This article was useful to you ?
Yes
No
Vous avez noté 0 étoile(s)
Sommaire
Procédure
LWS offers you 3 premium plugins from Elegant Themes (Divi, Bloom and Monarch). These are updated regularly. Once you are an LWS customer, you will have free access to these plugins by choosing the 'Divi Builder' distribution when installing the Wordpress CMS with our Auto-Installer.
If you have a cPanel package or have already installed Wordpress with this distribution, but do not have access to all the themes or updates, please let us know by giving us the access details for the administration area of your Wordpress site so that a technician can update the licence.
Please note: you will need to take out an Elegant Themes licence to benefit from support. LWS does not provide support for these products.
The Blog module displays posts using the standard Extra post layout. You can use multiple blog feed modules on a single layout to create truly unique content lists.
Before you can add a blog module to your page, you'll first need to switch to the Divi Builder. Once the Extra theme has been installed on your website, you'll notice a Use Divi Builder button above the post editor every time you create a new page. Click this button to activate the Divi Builder, giving you access to all of its modules. Then click on the Use Visual Builder button to launch the builder in visual mode. You can also click the Use Visual Builder button while browsing your website at the front if you are logged into your WordPress dashboard.
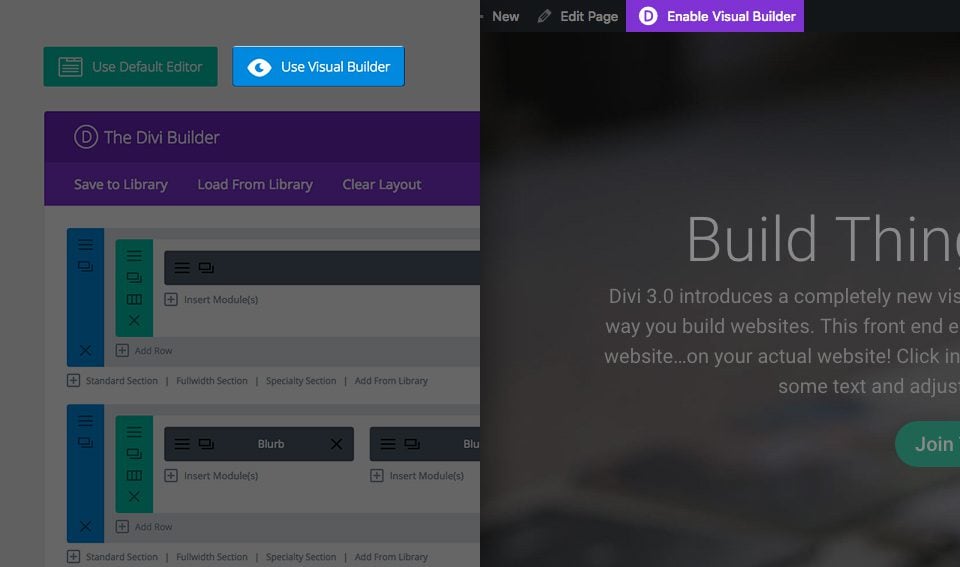
Once you have entered Visual Builder, you can click on the grey + button to add a new module to your page. New modules can only be added within rows. If you are starting a new page, don't forget to add a row to your page first.
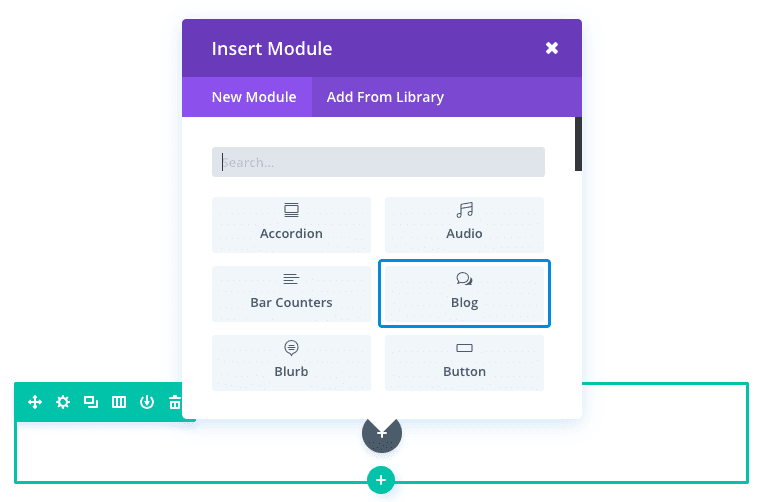
Locate the blog module in the list of modules and click on it to add it to your page. The list of modules is searchable, which means you can also type the word "blog" and then click the enter button to find and automatically add the blog module ! Once the module has been added, you'll be greeted with a list of options for the module. These options are separated into three main groups: Content, Style and Advanced.
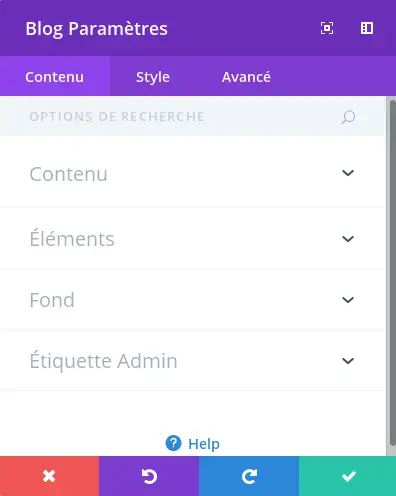
Number of posts
Define the number of posts to be displayed per page when pagination is enabled.
Include categories
Choose the categories from which this module should display messages.
Date format
Date display format. This must be specified using a PHP date() format string.
Content
Choose whether the full content of the messages or the message extract is displayed.
Show main image
Show the image of the featured post.
Show the Read more button
Show the Read more button after the message extract.
Show author
Include the author in the post-meta information for each post.
Show date
Include the date in the post-meta information for each post.
Show categories
To include categories in the post-meta information for each post.
Show pagination
This allows you to enable/disable pagination.
Show Number Of Comments
Include the number of comments in the post-meta information for each message.
Background colour and image
You can choose a background colour or image for your text module.
Admin label
This will change the module's label in the builder to make it easier to identify.
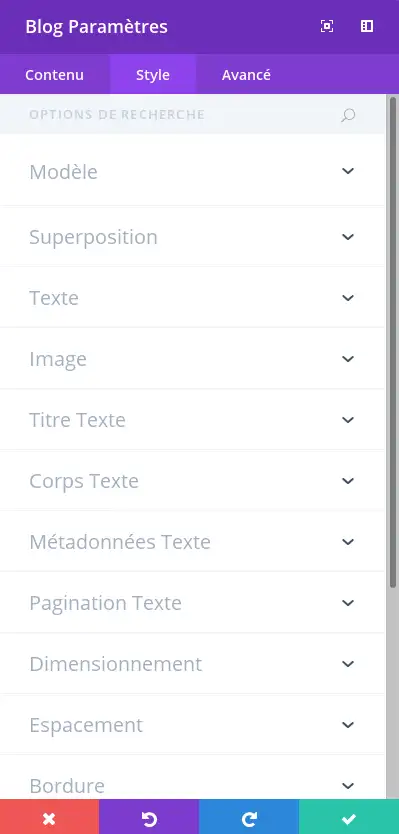
Here you can change the style and/or position of your text or header text as you wish by choosing its colour, orientation, font, font size, font spacing and line height.
You can also designate an image, an image overlay, an animation, a border style, define a maximum width for your module and add a custom margin or fill.
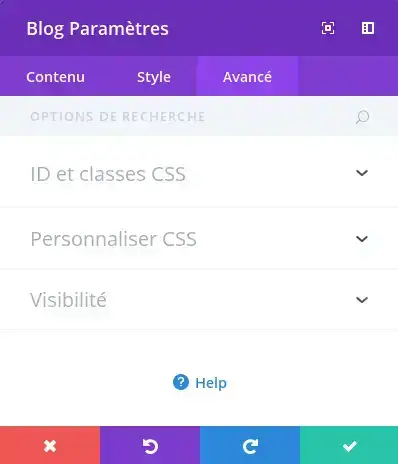
Use the advanced options to give your blog module custom CSS IDs and classes. Add custom CSS for advanced styling and specify the module's visibility on certain devices.
No blog-centric theme would be complete without a simple standard blog feed. If you're looking for a fun way to create a classic feed, then the Blog module is all you need!
See you soon for a new tutorial ;)
Creating an online shop with Extra
> Consult our Extra theme help section
Rate this article :
This article was useful to you ?
Yes
No
2mn reading
How do I install the Extra theme?
4mn reading
First step with the Extra theme
3mn reading
Extra theme options
4mn reading
Using the page templates in the Extra theme