Rate this article :
5/5 | 2 opinion
This article was useful to you ?
Yes
No
Vous avez noté 0 étoile(s)
Sommaire
Procédure
The LWS Cache tool is a system designed and developed by LWS tooptimise the loading performance of your website through the use of advanced caching mechanisms configured at server level. The tool uses technologies provided by NGINX.
NGINX is a performance-oriented web server that can handle many more requests than Apache (see our blog post entitled "Apache VS Nginx: Performance testing"). With the right configurations in place, NGINX can handle more requests to your website, speeding up page load times while reducing CPU and memory consumption.
Optimise the speed of your site by making full use of LWS Optimize, a powerful solution for activating and managing the automatic purging of the dynamic cache (LWSCache) as soon as you make changes online. This best WordPress cache plugin combines ease of use and efficiency, and is also available for free via the official directory as the best free WordPress cache plugin.
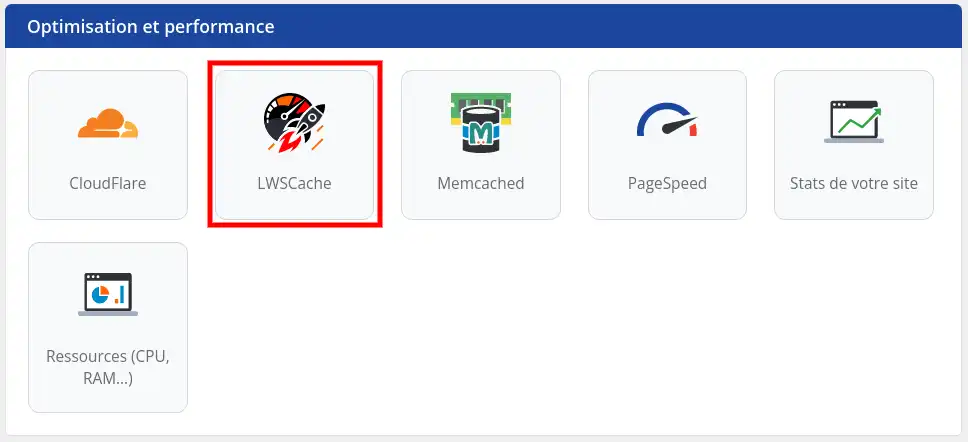
LWS Cache appears as an icon in the LWS panel in the "Optimisation and Performance" section.
Click on this button to display the configuration screen.
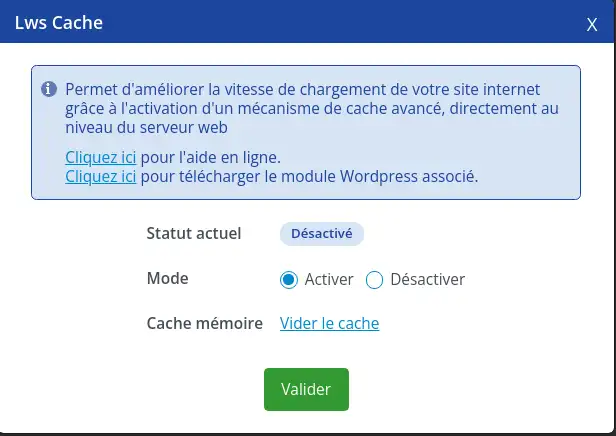
Once you are in the interface, select the "Activate" button and then "Confirm". LWS Cache will be activated on your hosting within a few minutes.
Once activated, if you are using the Wordpress LWSCache plugin, you will be able to access the plugin configuration and set the automatic cache purge.
If you're using LWS Cache with a WordPress site, activating the service is just the first step. The tool offers many additional options that are not available by default. To benefit from all its features, you need to install the LWS Cache plugin developed by LWS. This article explains how to install and configure it.
1. Installing the LWS Cache plugin
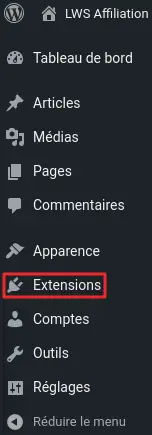
Before installing the LWS Cache plugin, first log in to your site administration. After logging in, click on "Extensions" in the left-hand menu to go to plugin management.
Locate the "Add" button at the top of the screen. Click on it to continue.

Use the search bar to find the LWS Cache plugin. After running the search, locate the plugin in the results and click "Install now".

Once the installation is complete, locate the button that now displays "Activate" and click on it to activate the plugin.
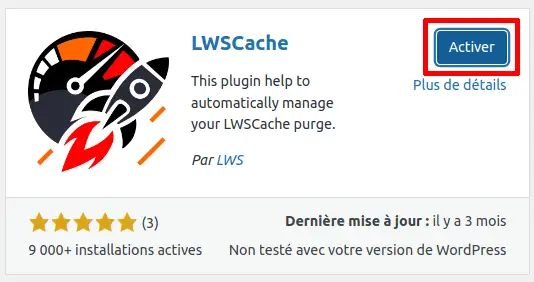
The plugin is now installed and activated on your WordPress site, and LWS Cache is ready to use. From now on, your site will use the LWS Cache to optimise loading performance.
2. Configuring the LWS Cache plugin
As mentioned above, after installing and activating the plugin, your site now uses LWS Cache with the recommended configuration for optimal use. However, in certain situations, you may wish to customise the elements you wish to cache. In this case, we'll explain how to proceed.
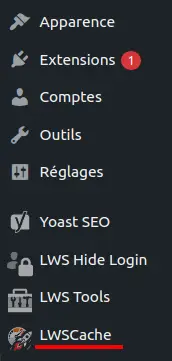
To start configuring the plugin, go to the left-hand menu and click on "LWS Cache".
If you have not yet activated LWS Cache for your service from your LWS Client Control Panel, you will see an error message and will not be able to access the configuration options. Also note that there may be a waiting time of around 3 to 4 minutes after activation on the LWS client panel before the plugin recognises the activation.
Let's assume that LWS Cache has already been activated and recognised by the plugin. In this case, you will be redirected directly to the "LWS Cache" tab, which displays the list of available options.
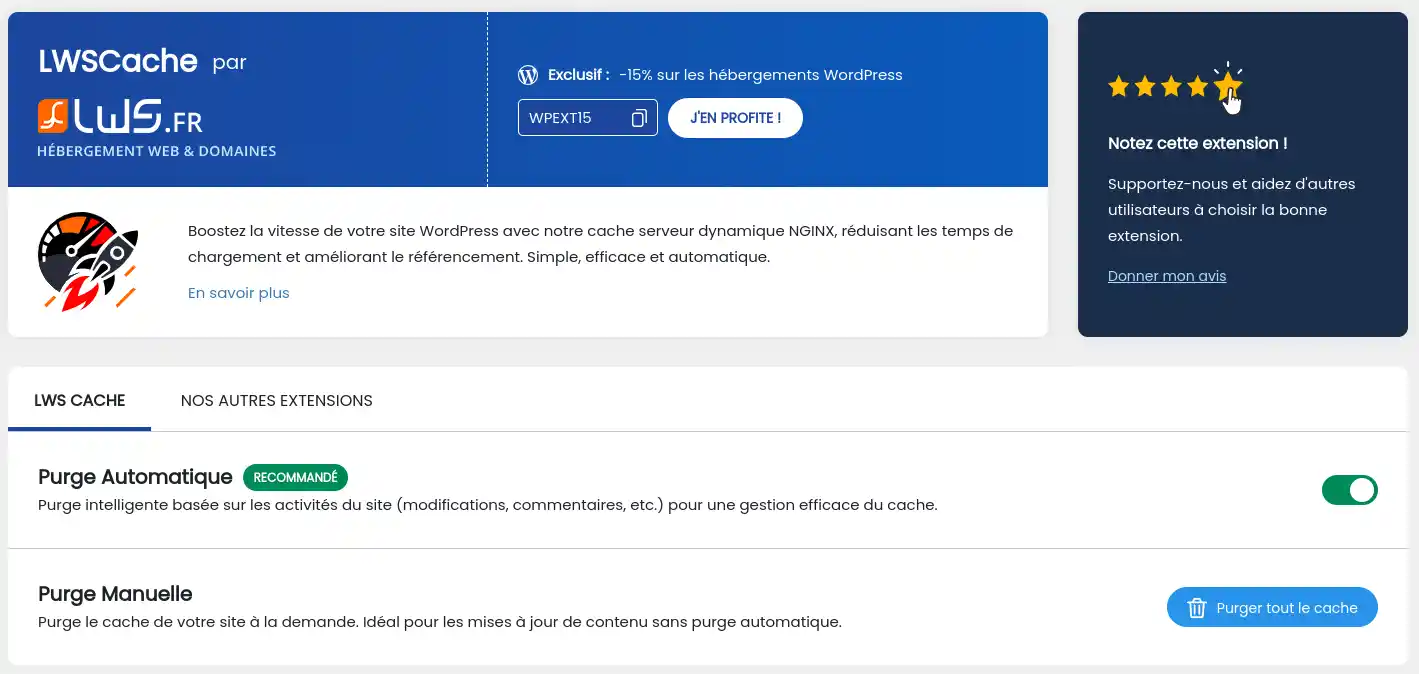
On this page, you can activate automatic cache purging, which is an intelligent purge based on content update activity on your website.
You can also manually purge the cache at any time, depending on your needs.
3. Clearing the cache
There may be times when you need to clear the cache (for example if you have made changes to your site). To do this, go to the plugin configuration page and click on the "Purge all cache" button.

You can also empty the cache from any administration page by clicking on "LWSCache" (1) then "Purge LWS cache" (2) in the menu at the top of the page. The cache will then be deleted immediately.

You now know how to :
By taking advantage of NGINX and the advanced options offered by LWS Cache, your website can achieve impressive loading speeds, while providing a smooth and enjoyable user experience. 🌟
We sincerely thank you for reading this article and hope you have found the information useful. If you have any questions or feedback to share, please feel free to leave a comment below. Your opinion matters and we're always delighted to hear about your experiences and suggestions! 📬
Rate this article :
5/5 | 2 opinion
This article was useful to you ?
Yes
No
1mn reading
How can I access site visit statistics?
1mn reading
How do I activate Mod_PageSpeed on my site?
1mn reading
How do I use the cache modules on LWSPanel?
3mn reading
Speed up your site with LWS Cache