Rate this article :
This article was useful to you ?
Yes
No
Vous avez noté 0 étoile(s)
Sommaire
Procédure
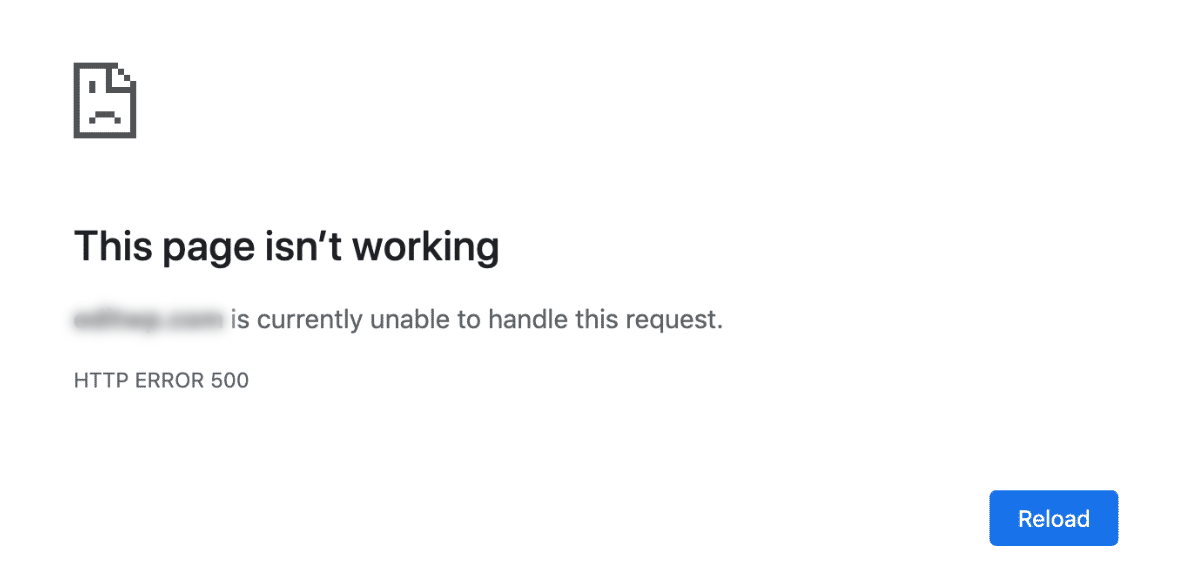
Error 500 is a page status code that stands for Internal Server Error. It means that an error has occurred in the web server. This may have come from the Apache2 web server, from the PHP interpreter, which passed the error to the web server, or from the MySQL database, which passed the error to PHP and in turn passed it to the web server. It looks like this:
As for some other browsers, you may just see a blank page with no content:
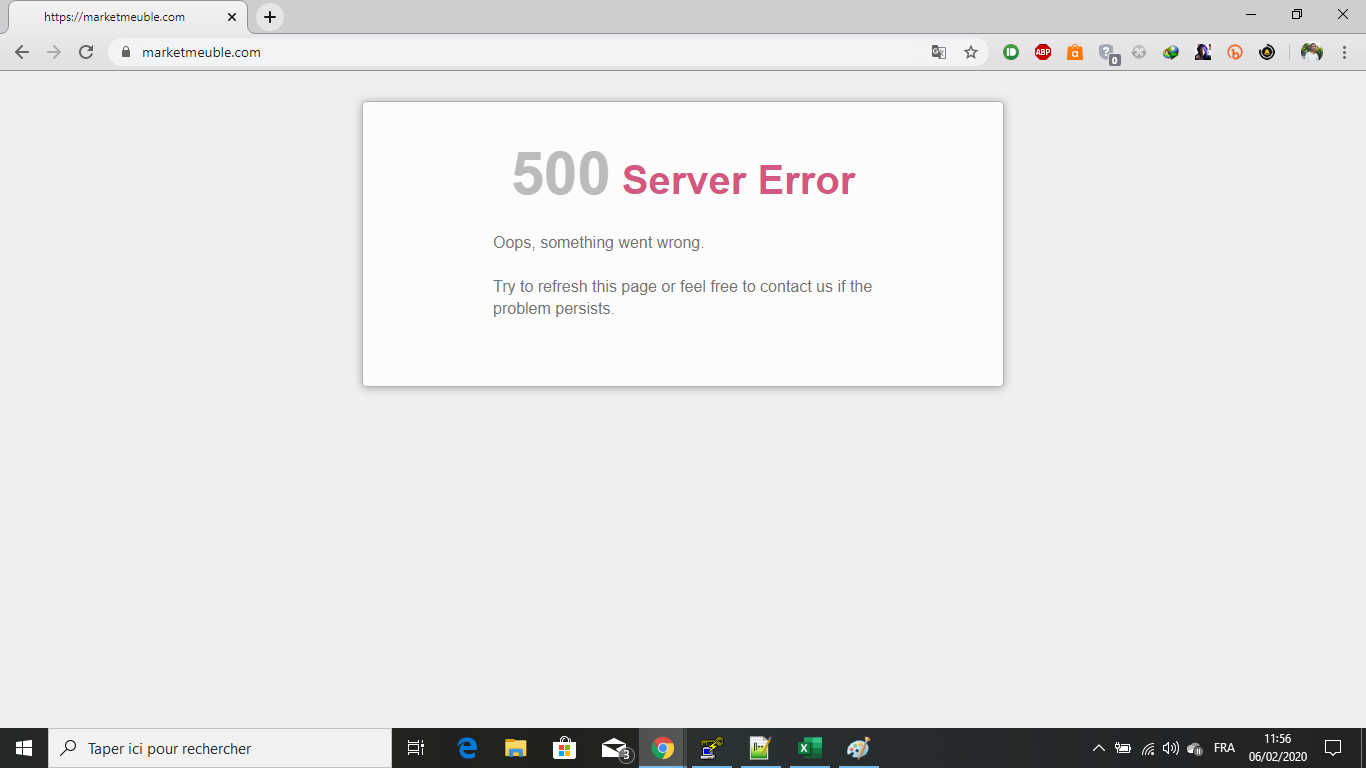
For Prestashop sites, you will see an error page generated by Prestashop :
To diagnose the problem, it will be more practical to display the errors directly on your website (even if they are visible in the error.log file in the log folder accessible via your FTP account.
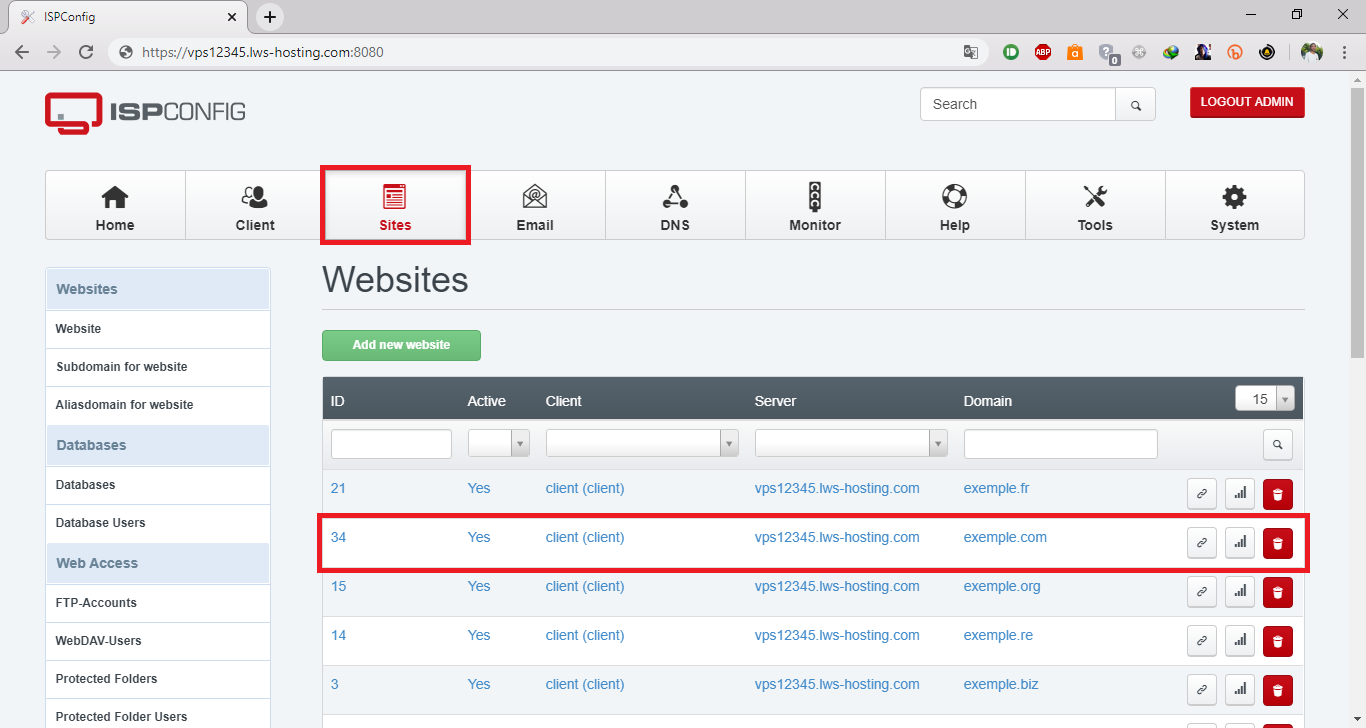
To display PHP errors, you will need to modify the php.ini file for the website concerned. In ISPConfig, click on Sites then select the relevant website:
Then click on the "Options" tab and add the following line to the "Custom php.ini settings" field:
display_errors = On
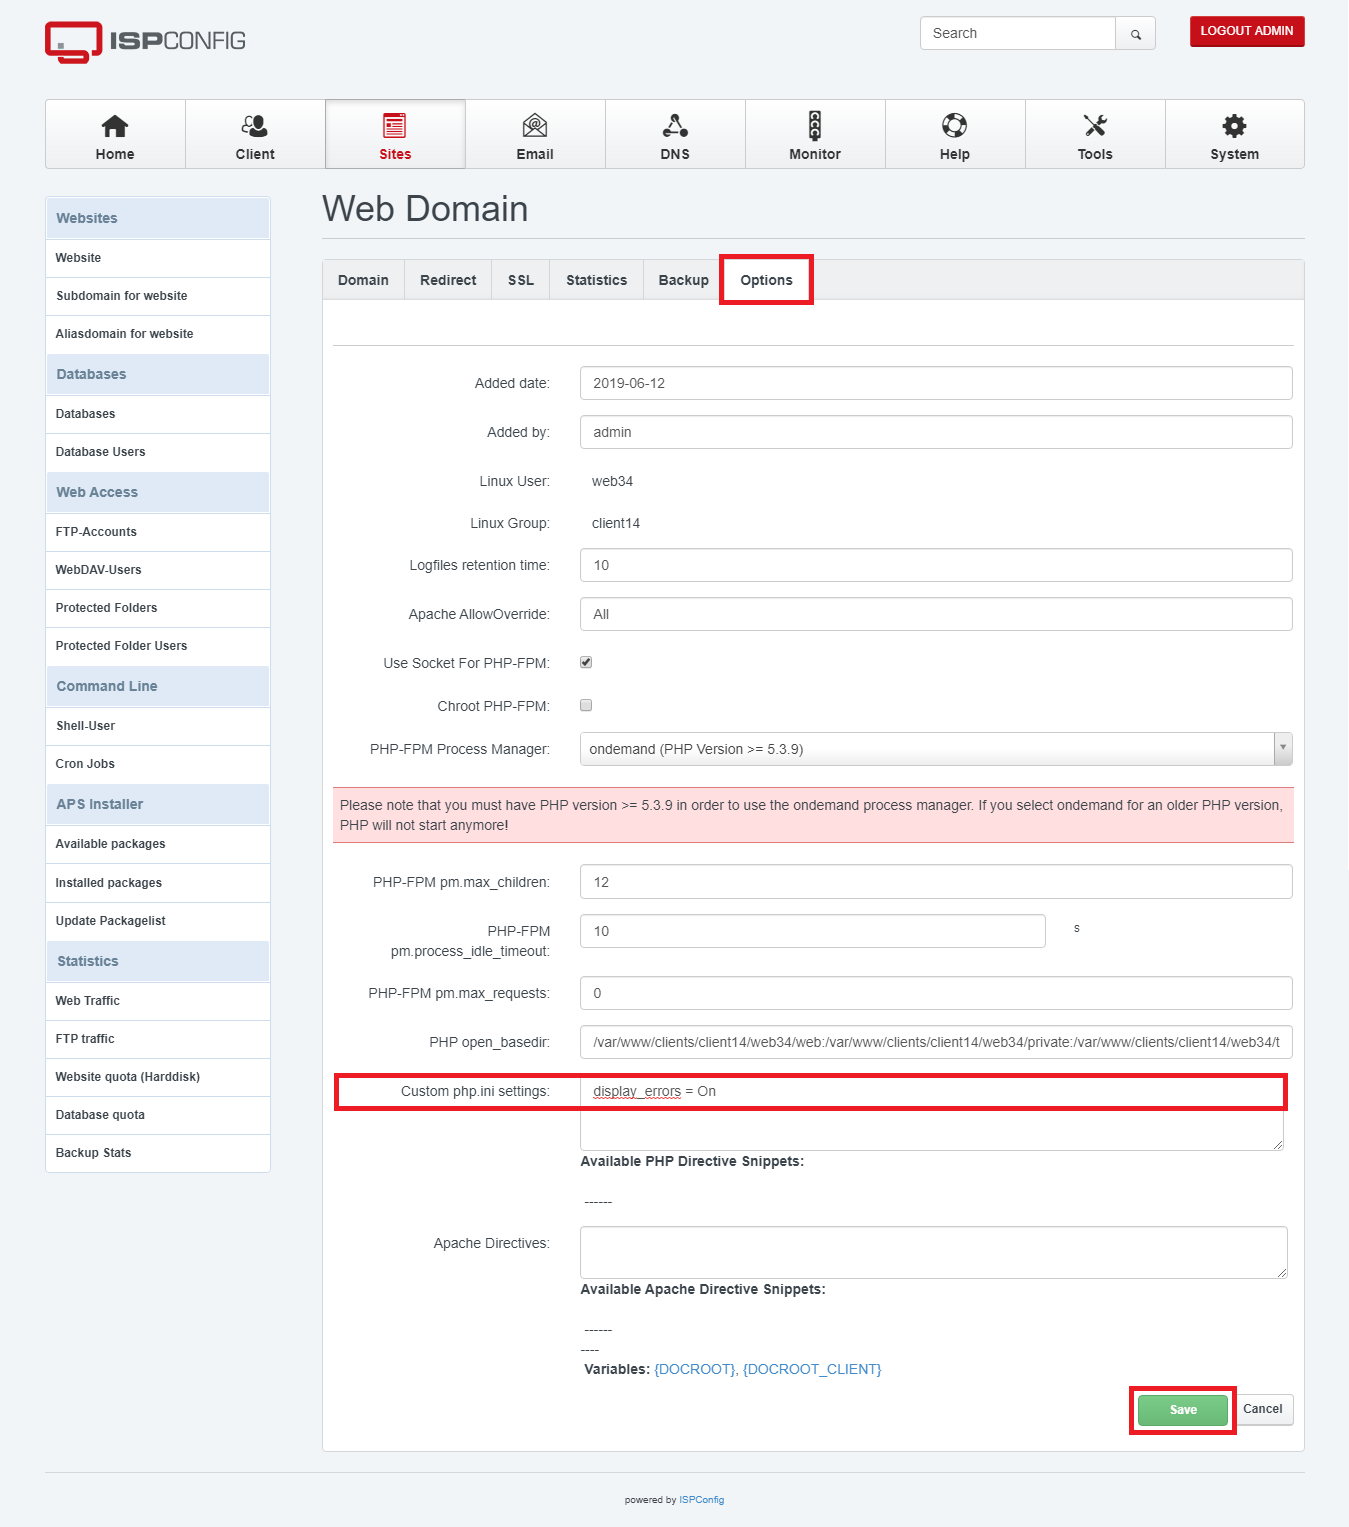
It is also advisable to add the following line to ensure that errors are reported so that they are displayed on the screen (in case the script disables this by default):
error_reporting = E_ALL
Some CMS and frameworks such as WordPress, Prestashop, Symfony, Laravel, etc. may ignore the fact that display_errors is set to On in PHP, as they have their own error management systems.
To enable debugging mode on a WordPress-based site, you will need to modify the wp-config.php file by setting the value of WP_DEBUG to true and WP_DEBUG_DISPLAY to true as well.
If WP_DEBUG_DISPLAY is not in wp-config.php, you will need to add it after WP_DEBUG:
define( 'WP_DEBUG', true );
define( 'WP_DEBUG_DISPLAY', true);
To enable debug mode on Prestashop, you'll need to modify the config/defines.inc.php file. In this file, set _PS_MODE_DEV_ to true.
define('_PS_MODE_DEV_', true);
To enable debugging mode on Joomla, you'll need to modify the configuration.php file. In this file, set $debug to 1 and $error_reporting to maximum.
public $debug = '1';
public $error_reporting = 'maximum';
To enable debugging mode on Laravel, you need to modify the .env file by setting APP_DEBUG to true:
APP_DEBUG=true
Next, you need to delete the configuration file cache. On your console, run the following command:
php artisan config:clear
The second most important step is to understand the errors and find a solution.
Parse error" and "syntax error" errors are caused by poorly written PHP code: missing semi-colons at the end, brackets that don't close, inverted commas, etc. You will need to check the script on your website.
Certain syntaxes can also cause problems only on certain PHP versions, because PHP syntax evolves between several versions. For example, the use of square brackets to declare an array works on PHP 7.2, whereas this is not the case on PHP 7.4.
It would therefore be worth checking andadjusting the PHP version according to the specifics of your website.
When this error occurs, the function PHP is trying to call does not exist. This problem occurs when files are missing or incomplete on your website.
This error message indicates that the mysql_connect() function does not exist. In fact, this function no longer exists on PHP 7.0 and later. You will need to use a PHP 5.x version for your website to work.
When this error occurs, the same function name has been declared several times. This problem occurs in particular when plugins, themes, modules, etc. use the same function name.
This means that the maximum authorised RAM memory has been exceeded. This problem occurs when you exceed the memory_limit specified on your website.
The recommended values pre-installed on your VPS package are as follows:
memory_limit=1024M (1 GB)memory_limit=2048M (2 GB)memory_limit=4096M (4 GB)memory_limit=6144M (6 GB)memory_limit=7168M (7 GB)memory_limit=8192M (8 GB)memory_limit=9216M (9 GB)memory_limit=12288M (12 GB)However, if you want to customise the memory_limit value, you can do so from ISPConfig.
In the " Options " tab of your ISPConfig website, add the line memory_limit to the PHP.INI directives:
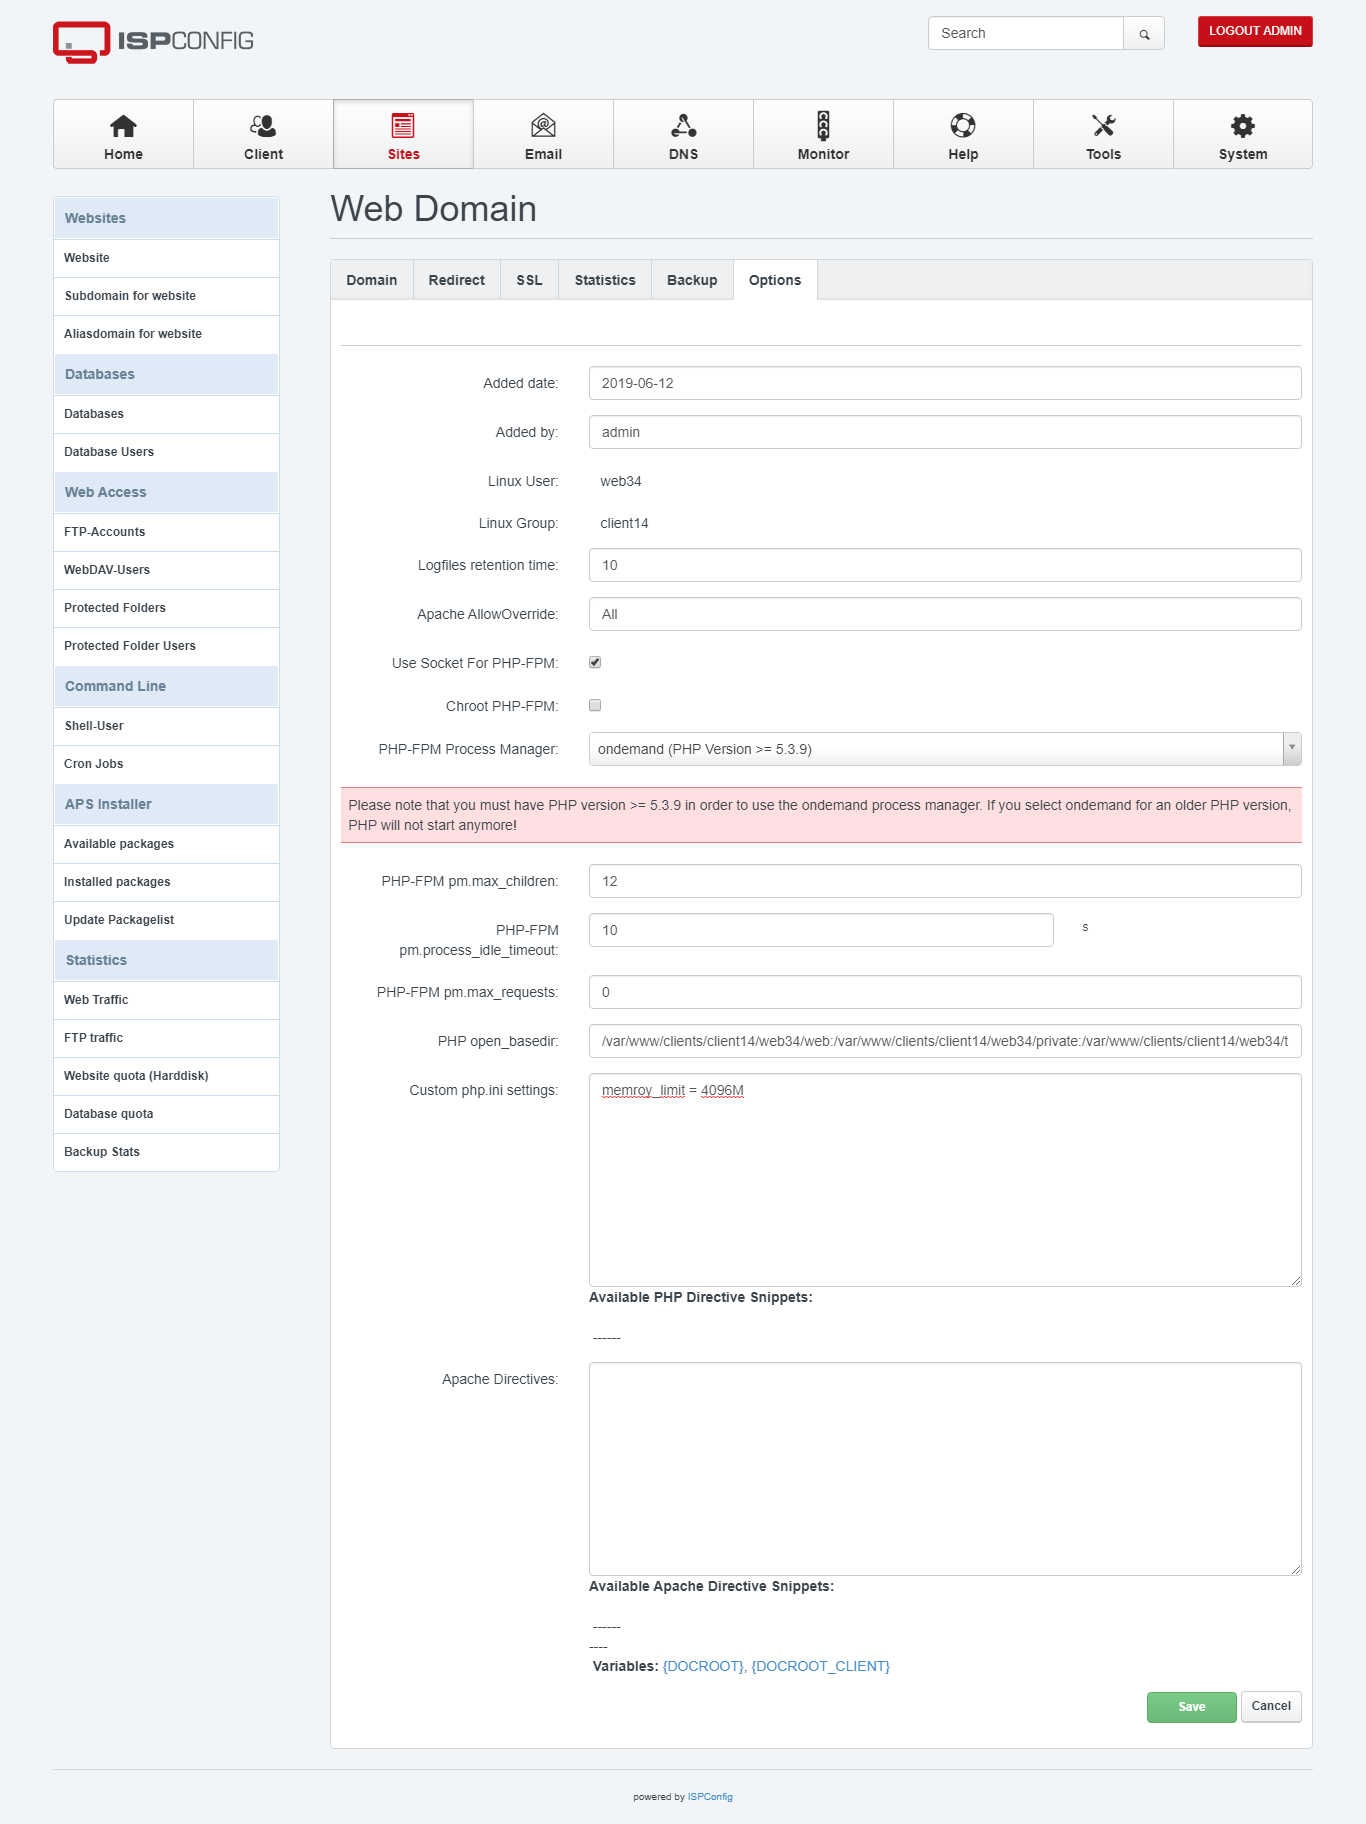
More information on this subject: How do I modify the php.ini file on my VPS server via ISPConfig?
This error message is linked to the fact that your PHP script is taking longer to produce a result than your php.ini parameters allow.
To overcome this problem, you can increase the maximum execution time. Still in the 'Options' tab of your ISPConfig website, add the following line to the PHP.INI directives:
max_execution_time = 1800
Here we have set 1800 seconds, or 30 minutes.
Important: If PHP's execution time is too long, Apache2 may not be able to wait until the end. As a result, Apache2 will send a 503 error to your visitor (a 522 or 524 error if you're using CloudFlare). It is therefore important to keep this value as low as possible. We advise you to set it to 30 seconds(max_execution_time = 30), unless you plan to carry out mass import or export operations on your sites.
This indicates that the MySQL user or password you are using is incorrect.
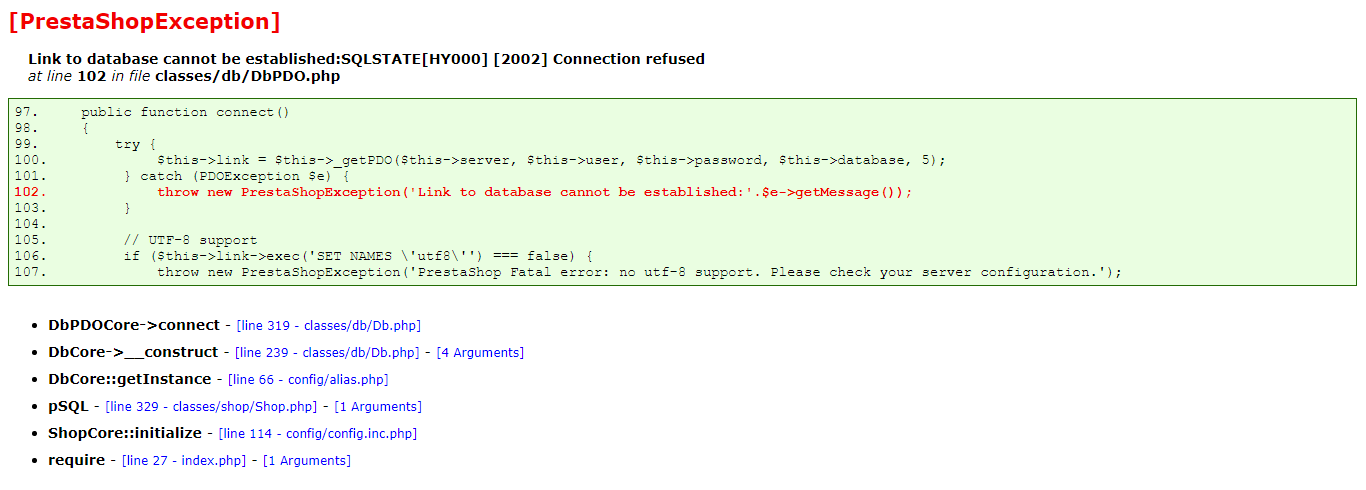
Example of an "Access Denied" error page on Prestashop
If you are using WordPress, the error message may be different:
Error establishing a database connection
To check whether a MySQL user/password combination is functional, I suggest you go to phpMyAdmin and use it.
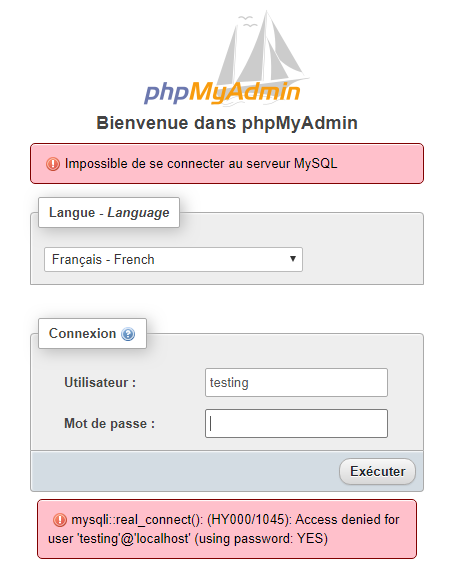
If phpMyAdmin also displays an error like this, then your MySQL user or password is incorrect. You can then reset it on ISPConfig.
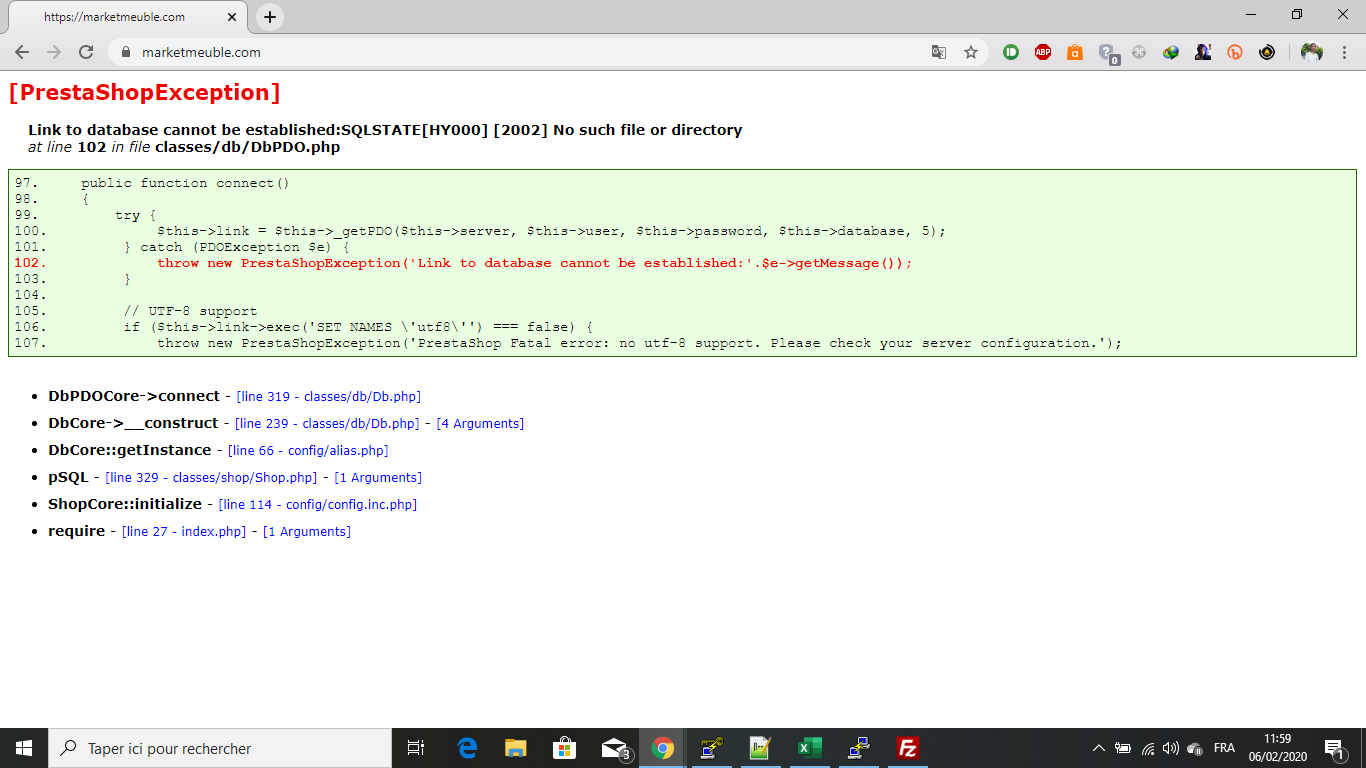
This error message is linked to the fact that your website is trying to connect to your MySQL server using a Unix socket instead of a TCP connection.
However, the Unix socket it is trying to use is not accessible at its level (due to the openbase_dir restriction, for example).
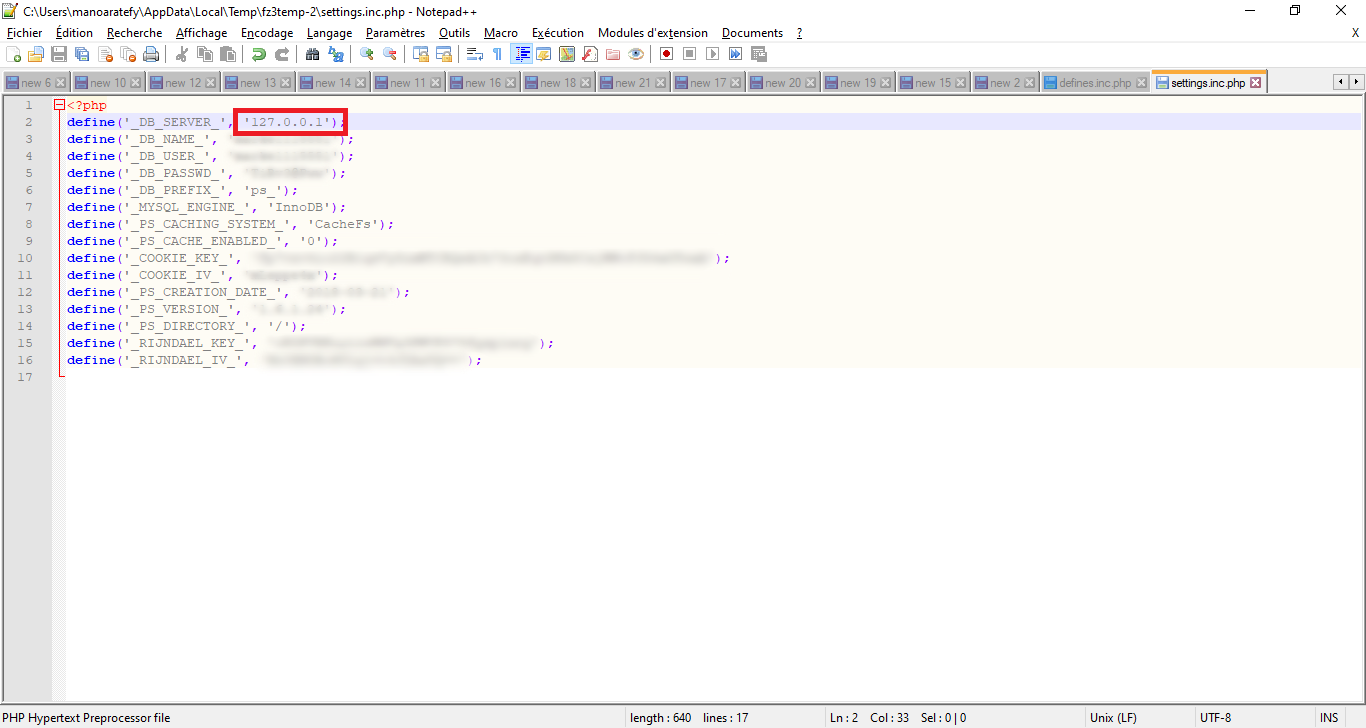
To solve this problem, you need to force your website to use the TCP connection by replacing " localhost " with " 127.0.0.1 " in the MySQL server parameter of your website.
For Prestashop 1.6, you will need to edit the config/settings.inc.php file:
For Prestashop 1.7, you will need to edit the app/config/parameters.php file:
[...] 'database_host' => '127.0.0.1', [...]
For a WordPress site, you will need to edit the wp-config.php file:
[...] define('DB_HOST', '127.0.0.1'); [...]
For a Joomla site, you will need to edit the configuration.php file:
[...] public $host = '127.0.0.1'; [...]
Rate this article :
This article was useful to you ?
Yes
No
2mn reading
How do I create an FTP account in ISPConfig?
0mn reading
SFTP connection
1mn reading
How do I activate SSL on my site with ISPConfig 3?
0mn reading
How do I change the FTP password from IspConfig?