Rate this article :
5/5 | 1 opinion
This article was useful to you ?
Yes
No
Vous avez noté 0 étoile(s)
Sommaire
Procédure
If you do not know how to connect to your Pterodactyl panel, please consult this documentation.
To add a custom port, go to the gears at the top right of your panel.

Then click on "Nodes" and then on your VPS server.

Fill in the elements on the right as follows:
IP Address: the IP of your VPS.
IP Alias: allocation description.
Ports: the port(s) you want to add (between 1024 and 65535).
Then click on "Submit".

You should see your new allocation on the left below the default allocation. If you have not yet created a minecraft server, you can view this documentation and select your custom allocation in step II. If your minecraft server is already installed, follow these instructions:
To change the port on your minecraft server, go back to your server configuration:

Then go to "Build configuration", add your new allocation in the" field, and delete the previous allocation in the field just below". Then click on "Update Build Configuration" to confirm.

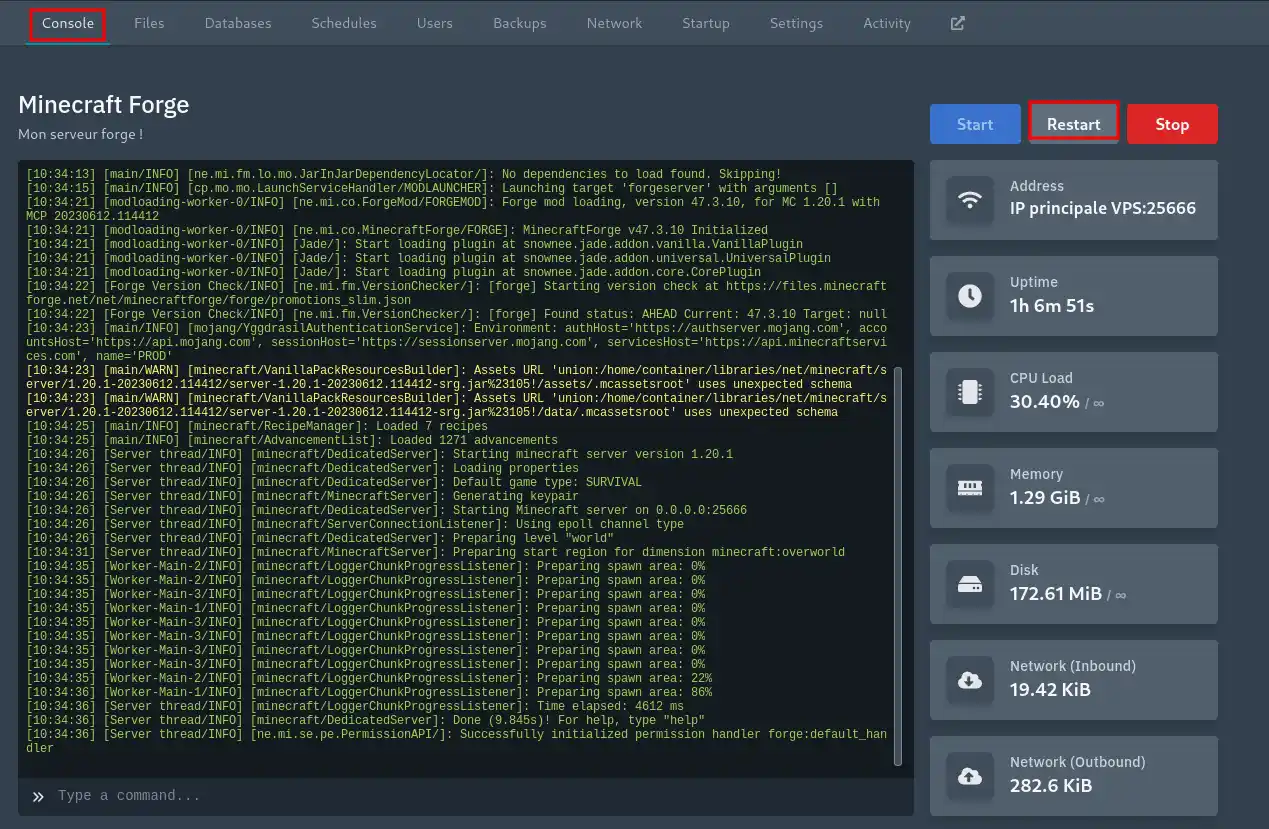
Simply restart your server by clicking on the small window in the top bar and click on the "restart" button on your VPS.


You now know how to :
🛠 With this knowledge in hand, your VPS server is not only ready to use, but also customised to your specific needs. Whether you're an enthusiastic novice or a seasoned administrator, these steps ensure a smooth and controlled experience. 🎮
🎥 Check out our Pterodactyl VPS tutorial video: Create a Minecraft server and change the server port.
🙌 Thank you for following us through this detailed guide. If you have any questions, additional tips to share, or just want to discuss your experience with the Pterodactyl panel, feel free to leave a comment below. Your feedback is our engine for improvement and we love to hear about your successes!
See you soon for more digital adventures! 🚀
Rate this article :
5/5 | 1 opinion
This article was useful to you ?
Yes
No
32mn reading
Guide to administering your Minecraft server
0mn reading
How to create a Minecraft server on Pterodactyl
0mn reading
How to install Minecraft mods on Pterodactyl
0mn reading
How to connect to your Minecraft Pterodactyl panel