Rate this article :
5/5 | 1 opinion
This article was useful to you ?
Yes
No
Vous avez noté 0 étoile(s)
Sommaire
Procédure
Directly linked to your affiliate account, the LWS Affiliation plugin lets you quickly and easily add our banners and widgets to your WordPress site so you can enjoy the benefits of our LWS affiliate programme without the hassle.
As part of our programme, you'll earn commission when a customer makes a purchase from LWS using a banner, widget or promotional code on your site!
To use this plugin, you need an LWS affiliate account, which you can create here, and a website built with WordPress version 5.0 or later and a PHP version of at least 7.0.
If you don't know how to create a WordPress site, you can follow this documentation or this one.
To download the plugin, you can go to the WordPress download page and download the ZIP file or simply go to your site and download the plugin from the extensions page.
Whichever you choose, log in to your site administration to continue. Click here,
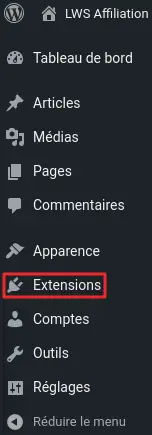

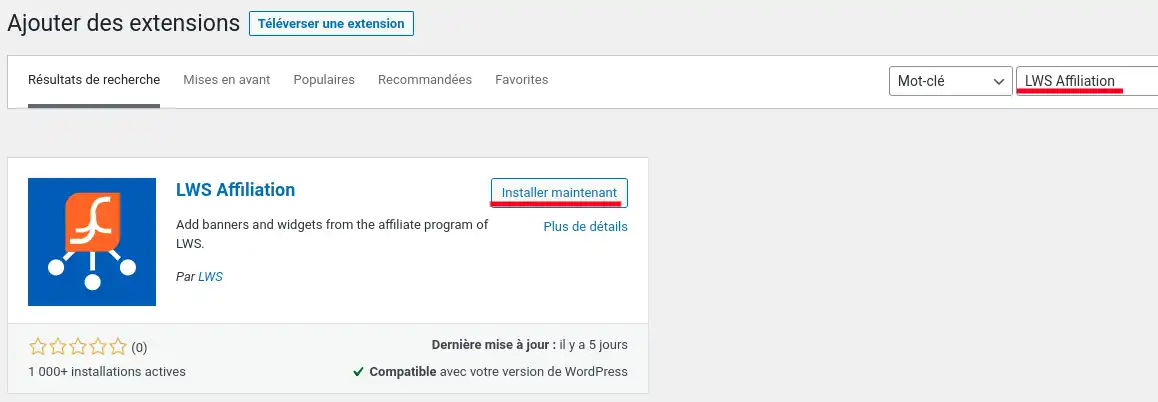
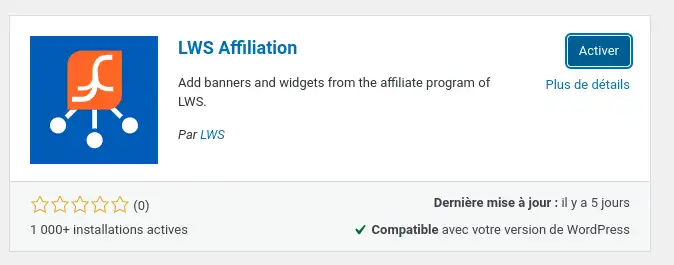
If all has gone well, you should see your new activated plugin, named "LWS Affiliation", in the list of installed extensions. If you didn't activate it in the previous step, you can do so from this list.

And that's it! Your plugin is activated, all you need to do now is configure it.
To configure your new plugin, go to the LWS Affiliation configuration page. You have two options:

![]()
Whichever method you choose, you'll reach the plugin's configuration page.
On this page, you'll find information explaining how the plugin works, as well as a login form. In the fields provided, enter the username and password for your LWS Affiliation account and click the "Submit" button to log in.

Once you have logged in, you can use the plugin.
If you ever wish to disconnect or change your affiliate account, click on the "Disconnect" button on the configuration page. This will remove the account from the site but will not delete any banners or widgets that you have already added.
To use our plugin with the default WordPress page editing mode, Gutenberg, go to the page where you want to add a banner or widget and add a new "Classic" block in the desired location.
This is a block based on the display of TinyMCE, the old WordPress page creation system. This block allows you to add text and media (such as images, for example) to your site in the same way as you would using the 'Title', 'Paragraph' or 'Image' blocks. When you want to add a banner or widget to your site, click on the "'LWS Affiliation" button on the editor menu bar.

This button opens the plugin window and allows you to browse the list of available banners and widgets.
If you are using a plugin such as "Classic Editor", which gives you the classic WordPress page editor, all you have to do to use our plugin is position yourself where you want to integrate a banner or widget and click on the "LWS Affiliation" button in your editor.

Regardless of your site editor, once you've clicked on the button, a new window containing the widget will open.
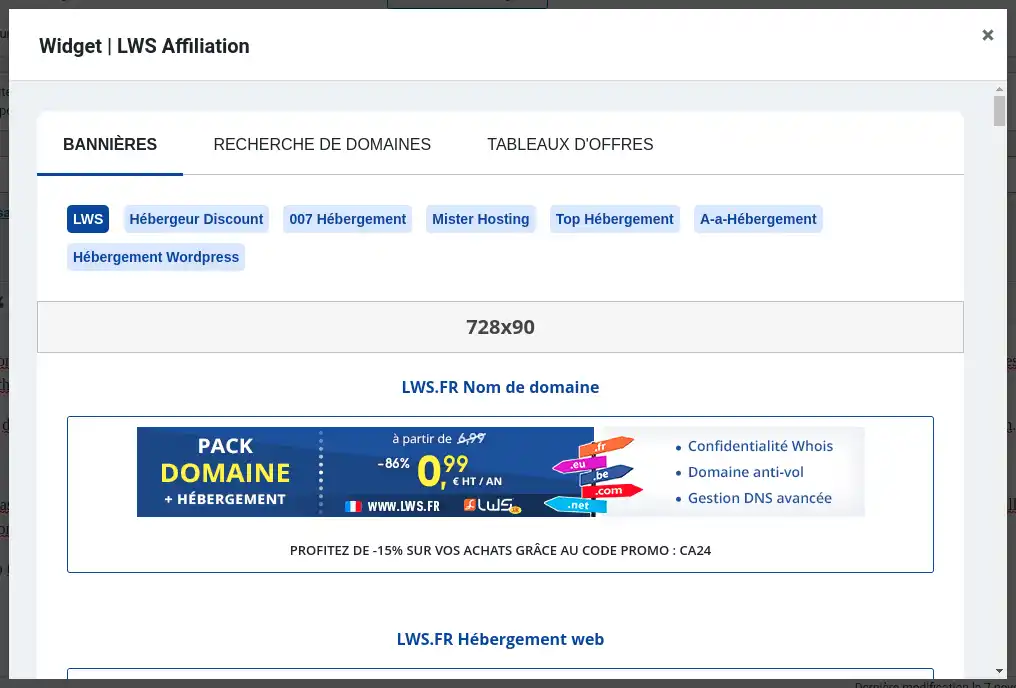
In this window, you can browse the different banners available to you and integrate them into your site by simply clicking on the one you want. The banners are sorted by sales site and size. You can change sales site using the tab bar, while the size is indicated in a grey banner.
No code to write, no additional action required, your banner will be automatically added where you define it.
.webp)
Unlike banners, widgets need to be configured before they can be integrated into your site. Don't panic, it's very simple! As with banners, click on the "LWS Affiliation" button in the editor to open the plugin window, then click on "Domain Search" or "Offer Tables" at the top of the page.
You will then be redirected to another page in the window, where you can add a domain search bar widget or display a table comparing different hosting offers.
If you wish to return to the banners page, click on "Banners" at the top of the page.
From the widgets available, choose the one you want to add to your page and click on the "Preview" button, so that a new tab opens showing what the widget looks like. Click on "Configure the Widget" to modify some of the widget's parameters and add it to your site.
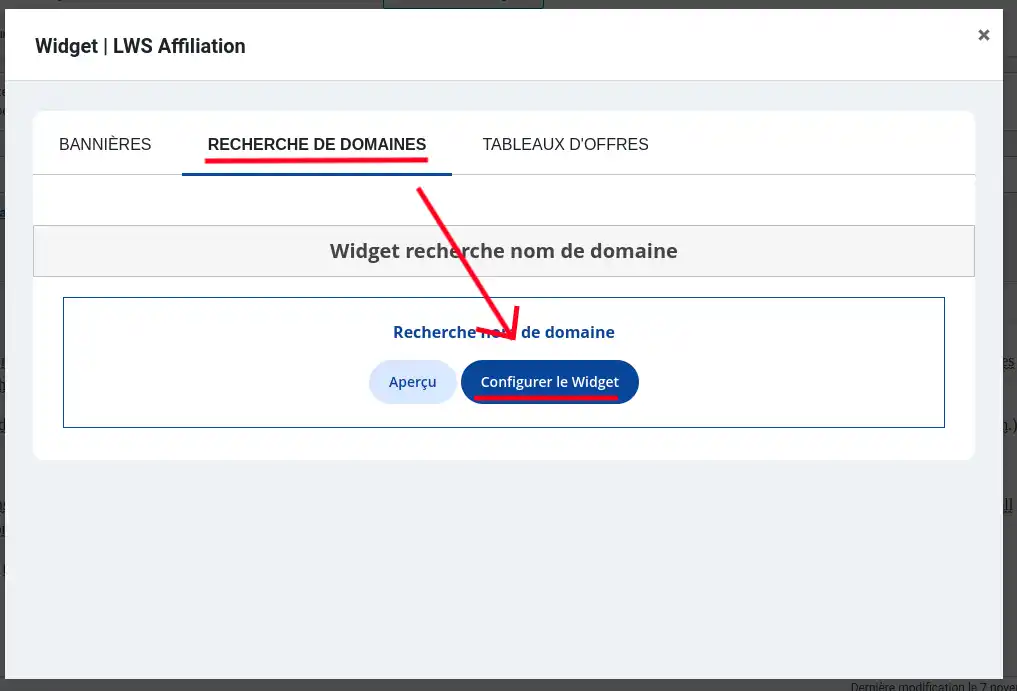
There are two types of widget: the "Domain name search" widget and the "Table" widget.
The "Domain name search" widget displays a search bar allowing you to enter a domain name (for example: "mon-site.fr") and find out its availability. You can then go to the domain purchase site to find out the price and place your order. You can configure a number of things...
The first field lets you choose the site extension (fr, com, net...) that will be given priority:

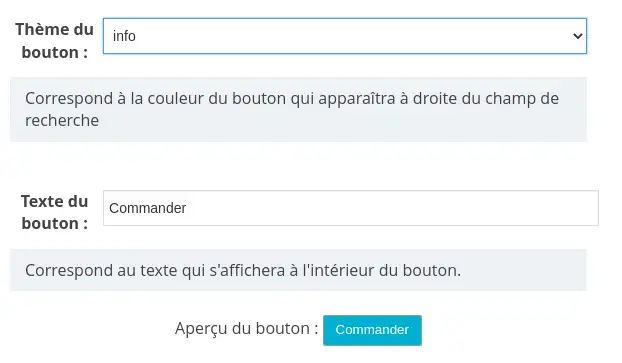
The 2nd and 3rd fields allow you to change the button colour and text respectively, with the option of previewing the button:
The 4th field lets you choose whether clicking on a button or link opens the associated sales page in the current tab (parent) or a new tab (blank)

and the 5th field lets you choose the widget language: English or French.

The "Table" widgets allow you to display different comparative tables of offers for different services such as VPS or WordPress hosting on your site.
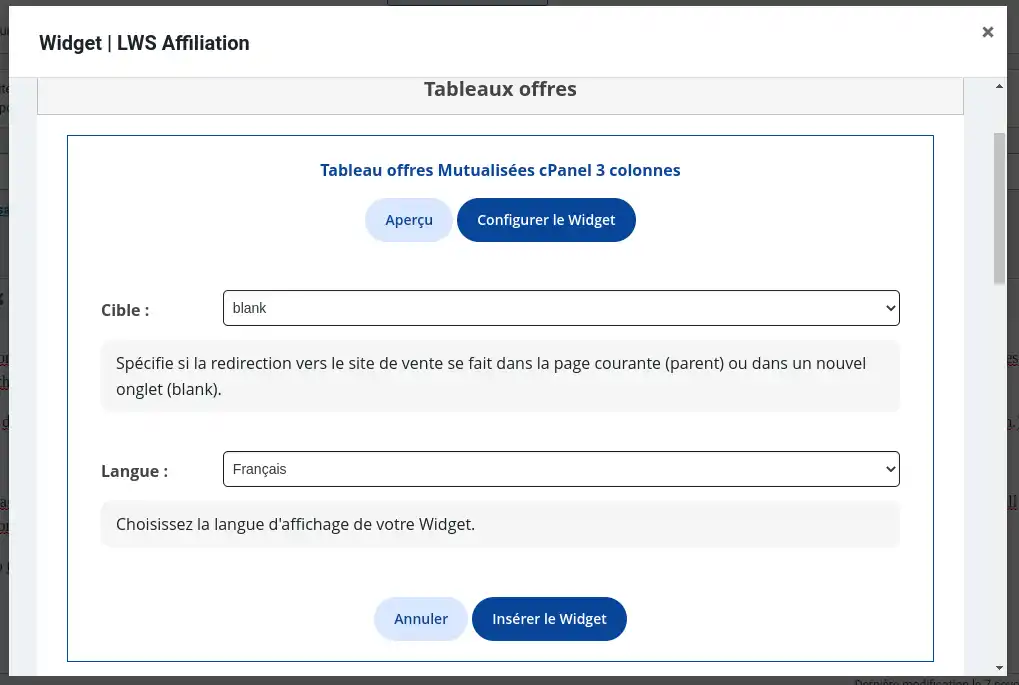
There are two parameters similar to those of the 'Search' widget:
Target, which lets you decide whether the links open the shopping sites in a new tab (blank) or on the current tab (parent)
Language, which lets you choose the language of the module between French and English.
Once you've chosen and configured your widget, all that's left to do is add it to your site. To do this, simply click on the green "Insert widget" button and your widget will be automatically added.
Once added, you'll see a grey rectangle in the widget's location. This is the widget, but it is not visible in the editor.
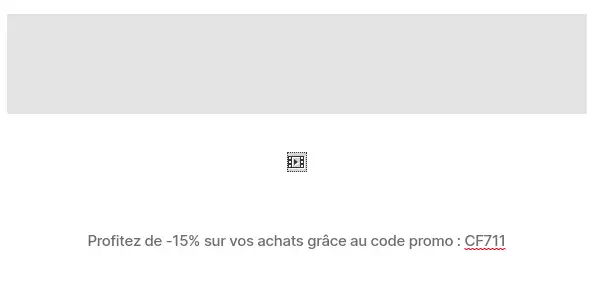
Preview your page and you will see the widget appear:
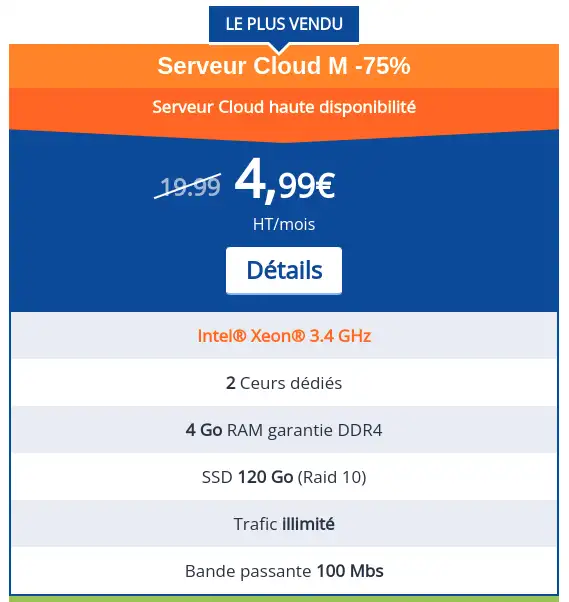
In addition to banners and widgets, you can also offer a promotional code under your banners and widgets. This code, if used, offers a 15% discount and you receive a commission. To activate it, go to your Affiliate account and go to the "Promo Code" tab.
Here, click on the button to generate your code and that's it! From now on, your banners and widgets will have an extra line indicating your promo code, so you don't need to add it manually.
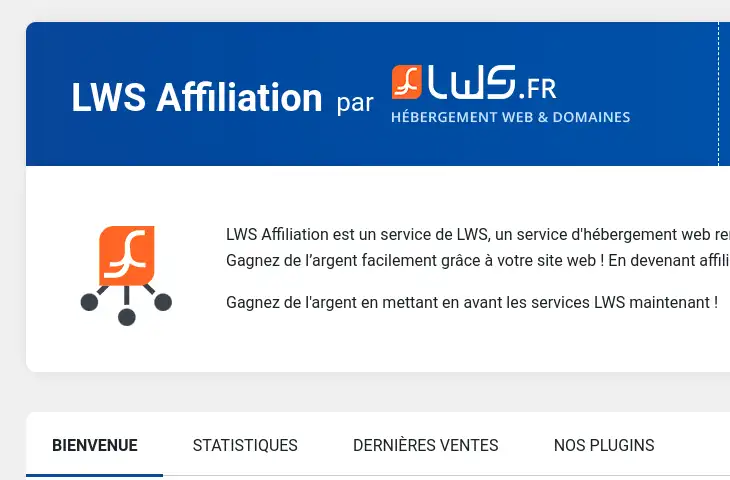
On your plugin's configuration page, you'll find two tabs in addition to the "Welcome" tab and a tab highlighting our other plugins.
The "Statistics" tab allows you to view your number of clicks, your sales and the total amount of your commissions since the creation of your account or for the current month only.
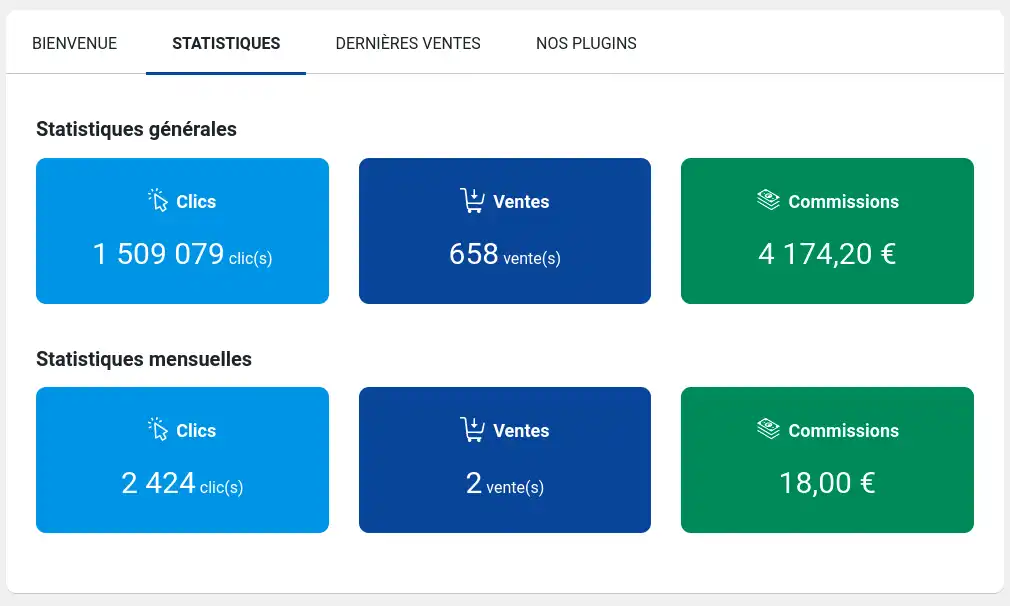
This allows you to keep an eye on your earnings and whether your ads are attracting new customers.
The "Last sales" tab gives you a summary table of your last 25 unrefused commissions.
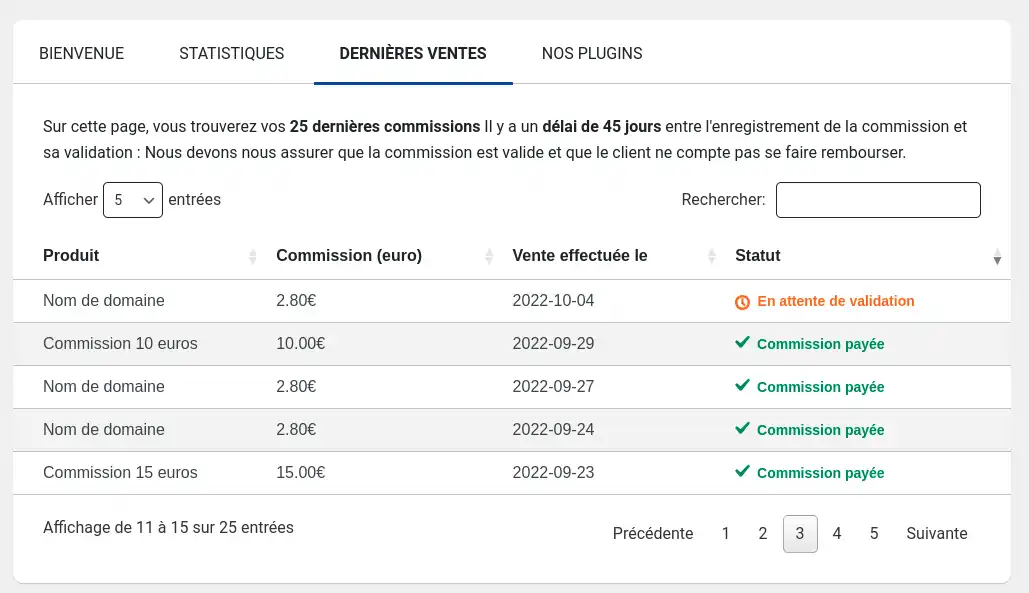
You'll find the type of product purchased by the customer, the commission earned, the status of the commission and the date of purchase.
You now have all the tools you need to use this plugin and receive commissions. Once you've earned a minimum of €80 in commission, you can withdraw it by going to your account in the Payment tab.
Rate this article :
5/5 | 1 opinion
This article was useful to you ?
Yes
No
3mn reading
How do I install the LWS SMS plugin for WooCommerce on WordPress?
0mn reading
How do I clean my WordPress site with LWS Cleaner?
0mn reading
Optimising images on WordPress with LWS Optimize