Rate this article :
5/5 | 2 opinion
This article was useful to you ?
Yes
No
Vous avez noté 0 étoile(s)
Sommaire
Procédure
When it comes to creating a website with WordPress, installing the system is an essential step. With the LWS auto-installer, you have a practical and easy-to-use tool for installing WordPress quickly and efficiently.
1 Log in to your customer account and click on"Manage" next to the domain you wish to install.

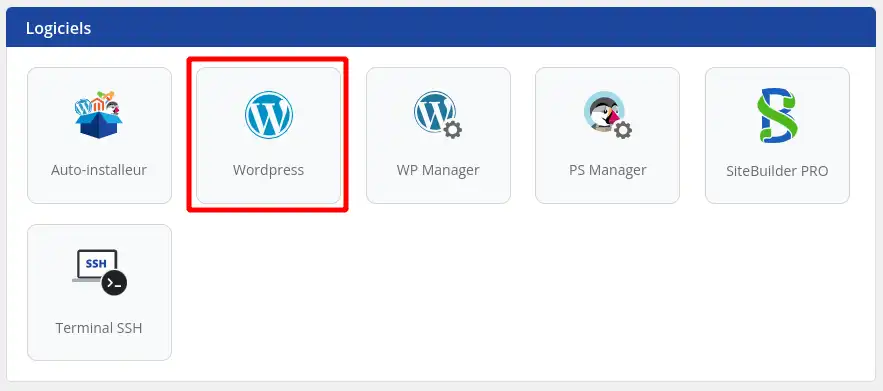
2. Click on the"Auto-installer" button under"Software".

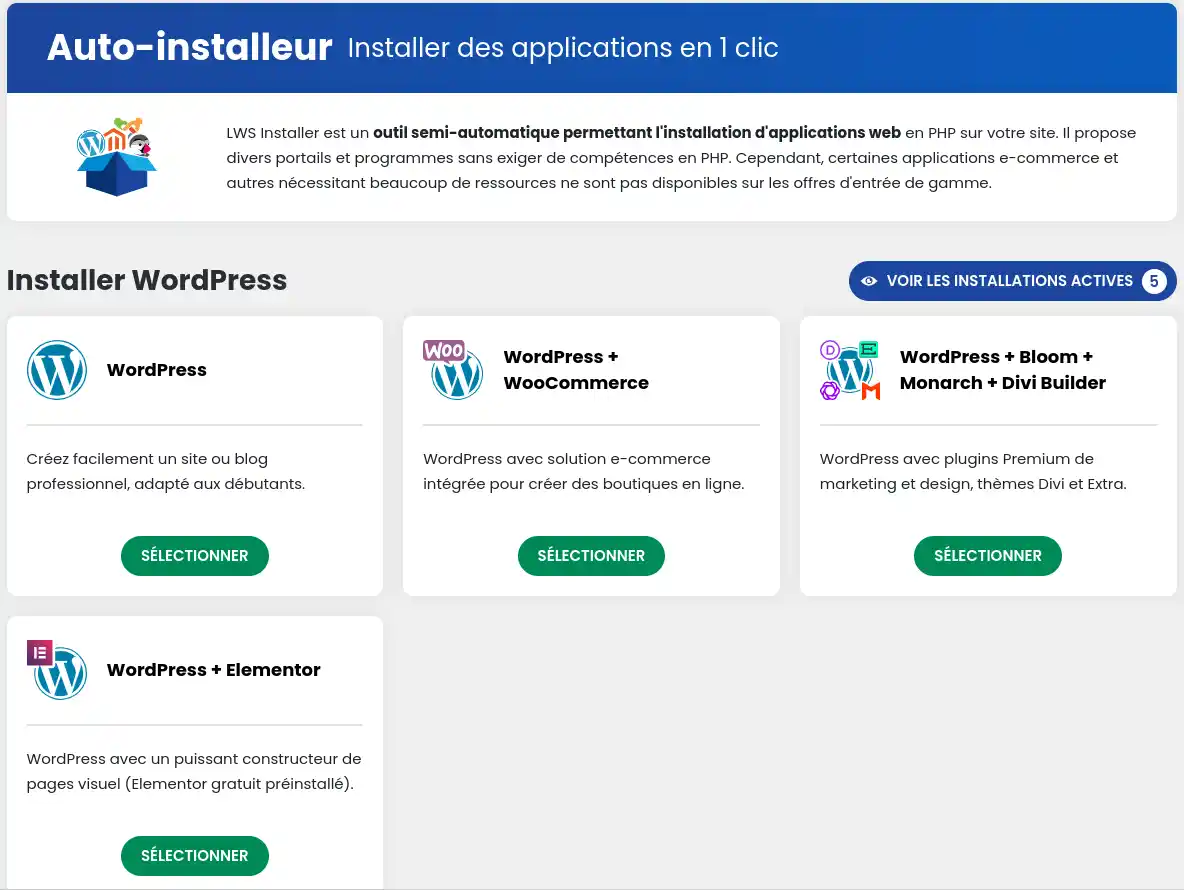
3. Then select the version of WordPress you wish to install.

4. enter the address at which your website will be accessible

From this form, you can select on which sub-domain the application will be installed (e.g. https://boutique.mondomaine.com), and from which domain it will be available if you are using the multi-domain feature. You can also specify a specific directory if you want to install several sites on the same domain (e.g. https://mondomaine.com/boutique).
You can configure various parameters such as the administrator account or the site name, and choose which plugins or themes to pre-install.
5. Then enter the email address that will receive the connection parameters and click on the "Install" button.

6. Installation takes place...

... and you should receive a confirmation once the installation is complete.

Rate this article :
5/5 | 2 opinion
This article was useful to you ?
Yes
No
1mn reading
How do I install a CMS with the LWS auto-installer?
1mn reading
How do I migrate a local WordPress site to my LWS shared hosting?
4mn reading
Install Laravel on LWS shared hosting in a few simple steps
1mn reading
How do I set up a shop on an Ecommerce package?