Rate this article :
This article was useful to you ?
Yes
No
Vous avez noté 0 étoile(s)
Procédure
When you load a web page, the CSS files linked to that page are loaded progressively, in the order in which they are called up in the code. Preloading a file means running it first, so that it is ready for the initial loading of the page, rather than having to wait a short time for the file to load naturally.
Preloading is most often used for text fonts, as they are often loaded after the page has already been displayed, with the result that the text does not appear, or does not appear in the correct font, for a few moments when the page is loaded. Preloading these fonts allows them to be loaded at the same time as the page: the font is displayed directly, making loading appear faster.
For preloading to be effective, not all CSS files should be preloaded, otherwise the performance of your site will suffer rather than improve.
It can be difficult to know which elements of your site to preload to obtain the best performance; this will depend largely on your site, the plugins installed and the structure of the page, but as a general rule, it will be the resources that are essential for the initial loading of the page, i.e. the files that will load elements that the user will see immediately when the page is loaded: fonts, major CSS elements (colours, background, etc.), images, etc.
You can preload the tags, which are mainly used to load fonts or style sheets, but can also be used to load images. To do this, you need to replace the "rel" attribute and add the "as" attribute to the tag. This must seem incomprehensible to you if you know little or nothing about development. Let's look at it in more detail with an example:
To pre-load this style sheet, you can modify the tag as follows:
As you can see, all you have to do is change 'stylesheet' to 'preload', but it's important not to forget to add the 'as' attribute, otherwise your file will be loaded twice, which would have a detrimental effect on your performance, which is contrary to the very purpose of preloading.
In the case of an image loaded from , the handling is the same, except that the 'style' becomes 'image':
Finally, for fonts, the procedure is similar except for one detail: the "crossorigin" attribute must be added to the :
<link rel='preload' as='font' href='https://example.fr/mafont.woff2' corssorigin='anonymous' />
The point of "crossorigin" is to tell the browser that this font must be retrieved anonymously. In fact, all fonts must be retrieved in this way; forget the attribute and the browser will not process this font or take the preloading into account.
Whatever your site, you have everything to gain by preloading your CSS files. However, it can be complicated to set up for beginners, which is why we recommend that you use an extension on WordPress that will preload the files for you, such as our LWS Optimize extension, developed by LWS.
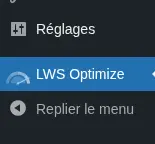
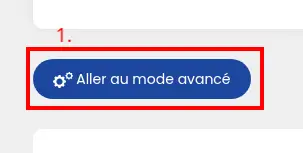
In addition to more standard optimisations such as minification and combination, LWS Optimize lets you minify the CSS and font files of your choice in just a few clicks. To do this, go to the extension settings, Advanced mode and then the Front-End tab:


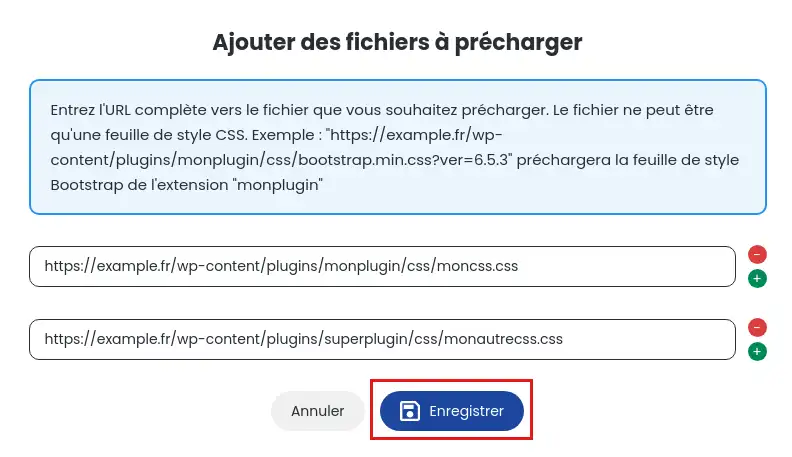
Here, activate the "Preload CSS files" option. Then click on the "Add files" button opposite the option, which will open a modal:

In the field of the newly opened modal, enter the full URL of the file you want to include. You can click on the green "+" button to add more URLs or on the red "-" button to remove them. You can include as many URLs as you like, but you absolutely must enter the exact URL to the file, otherwise preloading will not take place. Once you've finished, click on the "Save" button to save your changes.

Repeat the previous actions with the 'Preload Fonts' option to include the fonts you want to be preloaded. Again, make sure you enter the correct and complete URL, otherwise the font will not be preloaded.

Don't forget to click on the green button at the bottom right, "Save new configuration" to validate the changes.
You now know how to :
We hope this article has enlightened you on the benefits and implementation of resource preloading on your site. Many thanks for your careful reading! If you have any questions or would like to share your experience with CSS preloading, please feel free to leave a comment. Your feedback is always appreciated and allows us to continue improving our services for you 🌟.
Rate this article :
This article was useful to you ?
Yes
No
0mn reading
How can I minimize the files on my WordPress site with LWS Optimize?
0mn reading
How can I combine the files on my WordPress site with LWS Optimize?
0mn reading
How do I disable WordPress emojis with LWS Optimize?
0mn reading
Lazy Loading WordPress: boost your site's performance with LWS Optimize