Rate this article :
This article was useful to you ?
Yes
No
Vous avez noté 0 étoile(s)
Procédure
In this documentation, we'll look at how to use the Notes application from Nextcloud and its various features.
This note-taking application gives you the opportunity to organise your ideas, lists, tasks and much more, while taking advantage of the simplicity and security of the Nextcloud ecosystem.
With theNextcloud Notes app, you can seamlessly create, edit and sync your notes wherever you are and on all your Nextcloud-enabled devices.
Before you start, you need to go to the Nextcloud Notes application.
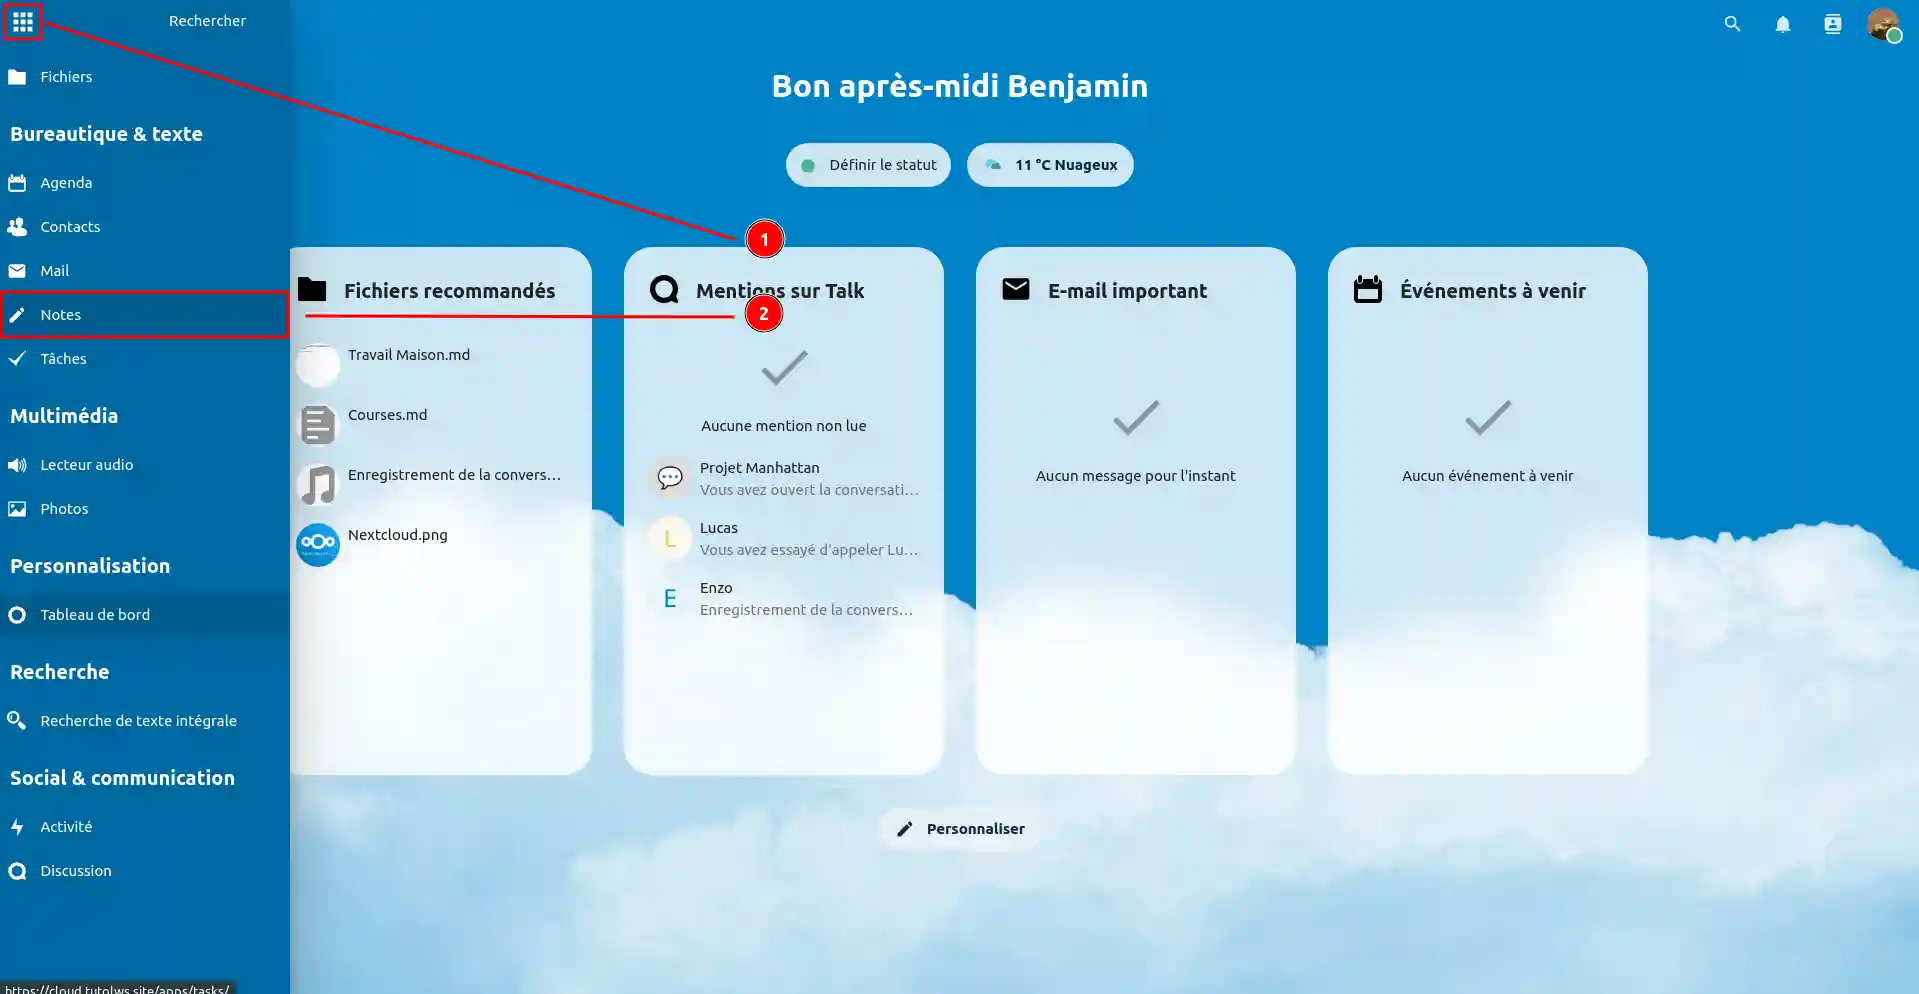
Access the Nextcloud Notes application by clicking on the menu at the top left of your screen (1), then select "Notes" (2).
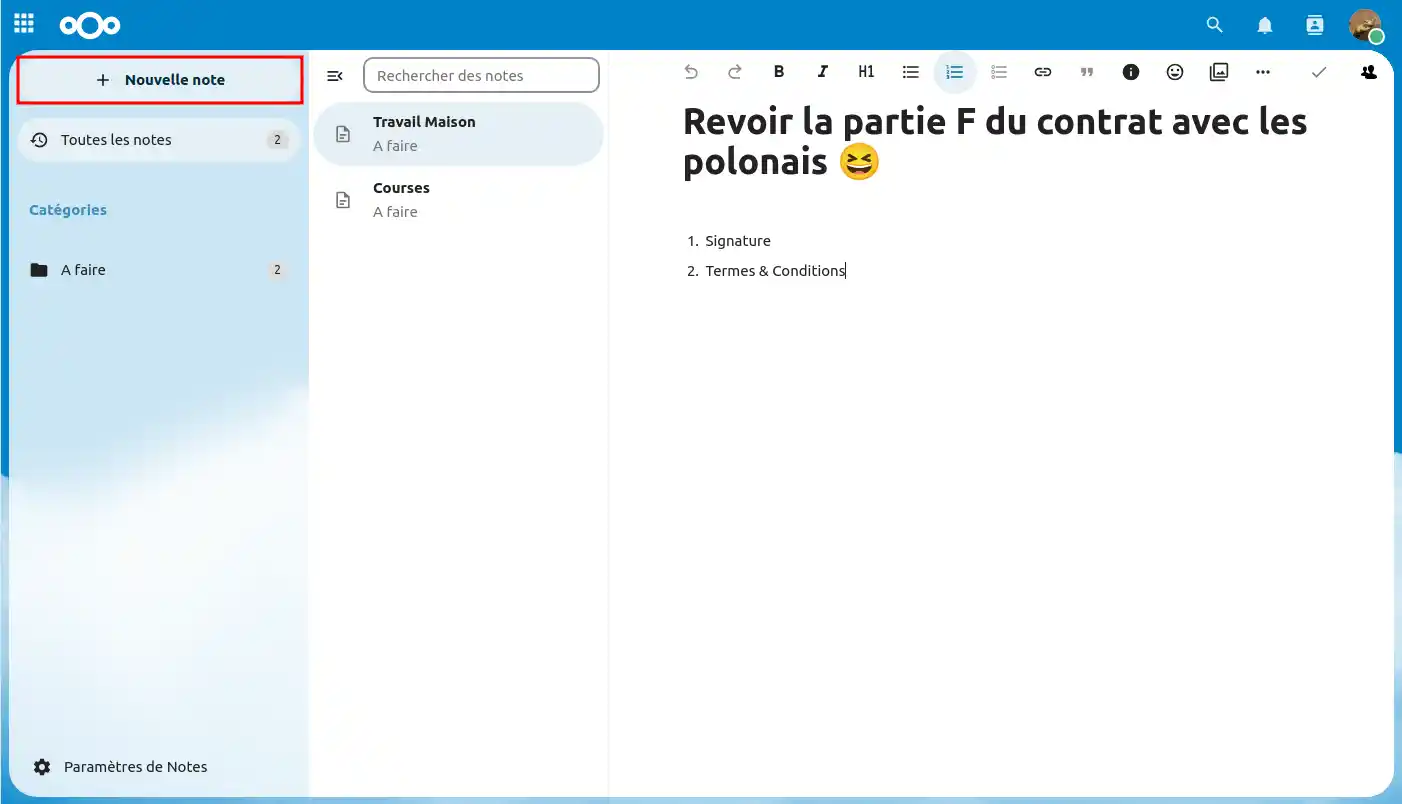
Once in the Notes application, to create a new note, simply click on the "+ New note" button at the top left of the interface.
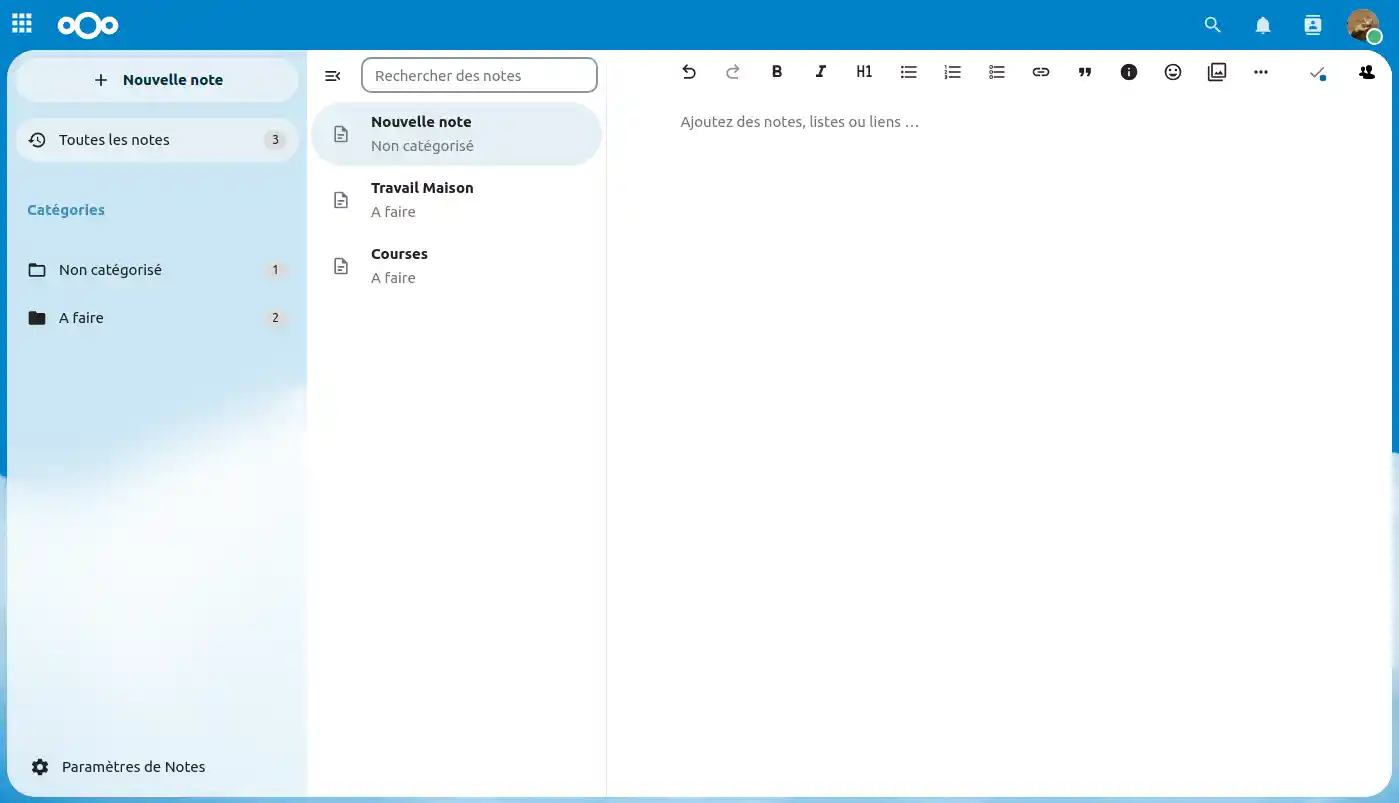
Your new note has now been created and is ready to be edited and added to in the editing area on the right of the screen.
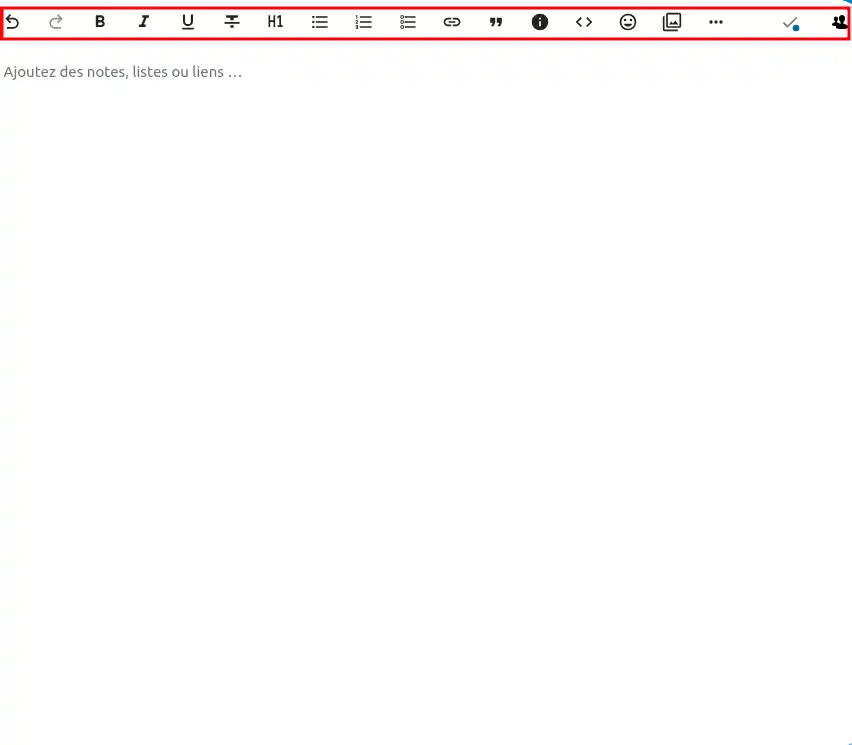
The great thing about the note editing area is the variety of tools available for formatting your text.
You can add titles, bold, italics, bulleted lists (numbered or dotted), insert links, quotes, captions, code, emojis, and much more!
You can do all this from the panel above the editing area!
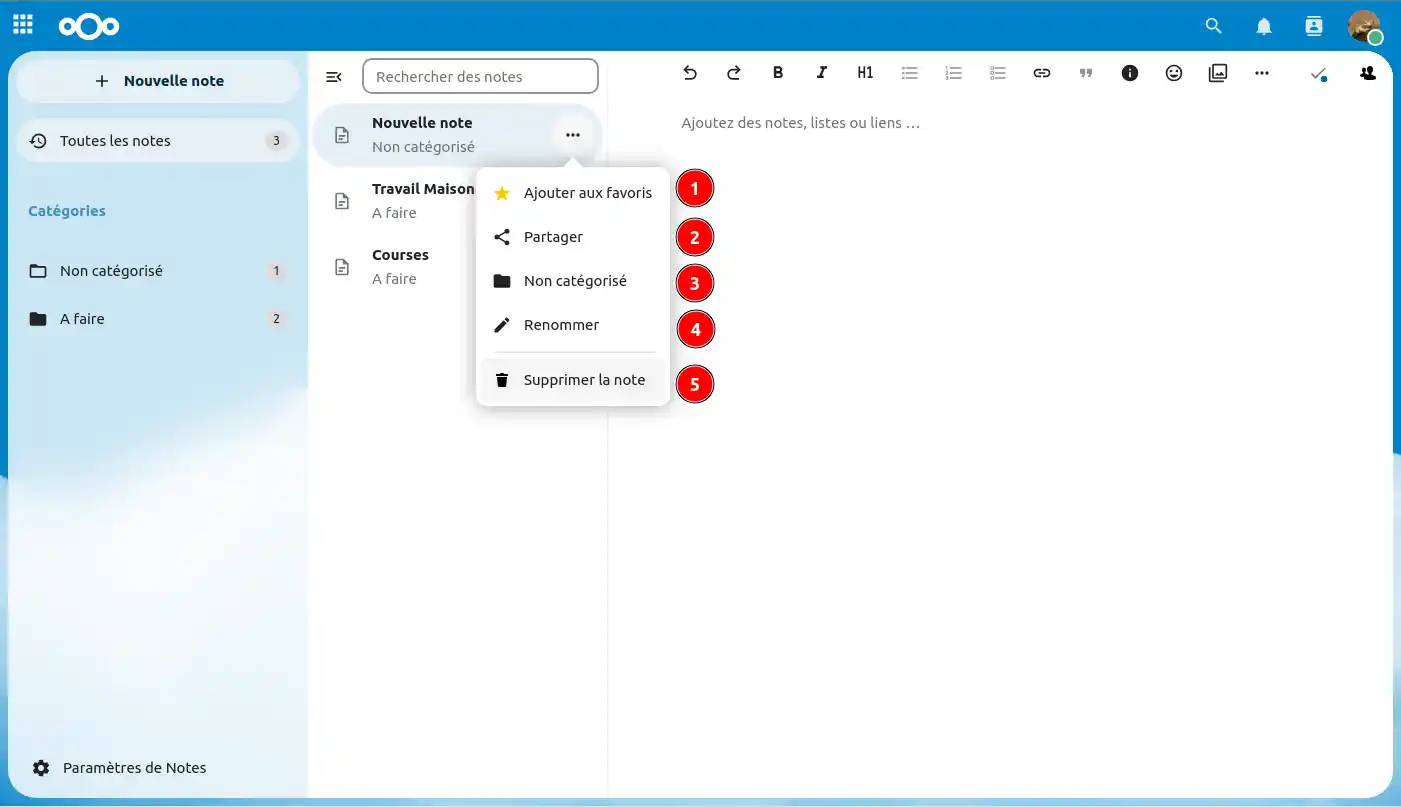
To access the options available for a note, you need to click on the three little dots next to the note in the list of all notes.
These options include
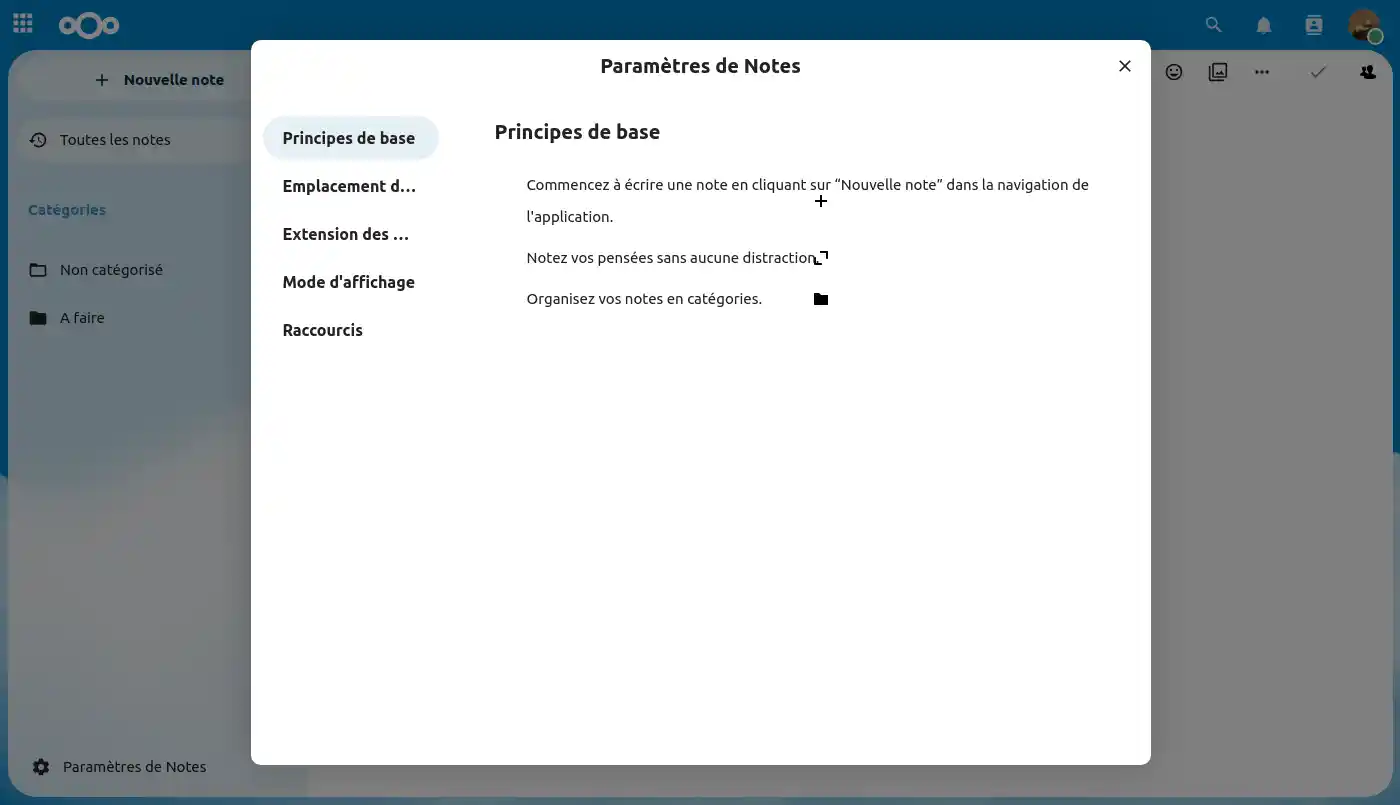
This section of the settings explains the three main buttons in the Notes interface.
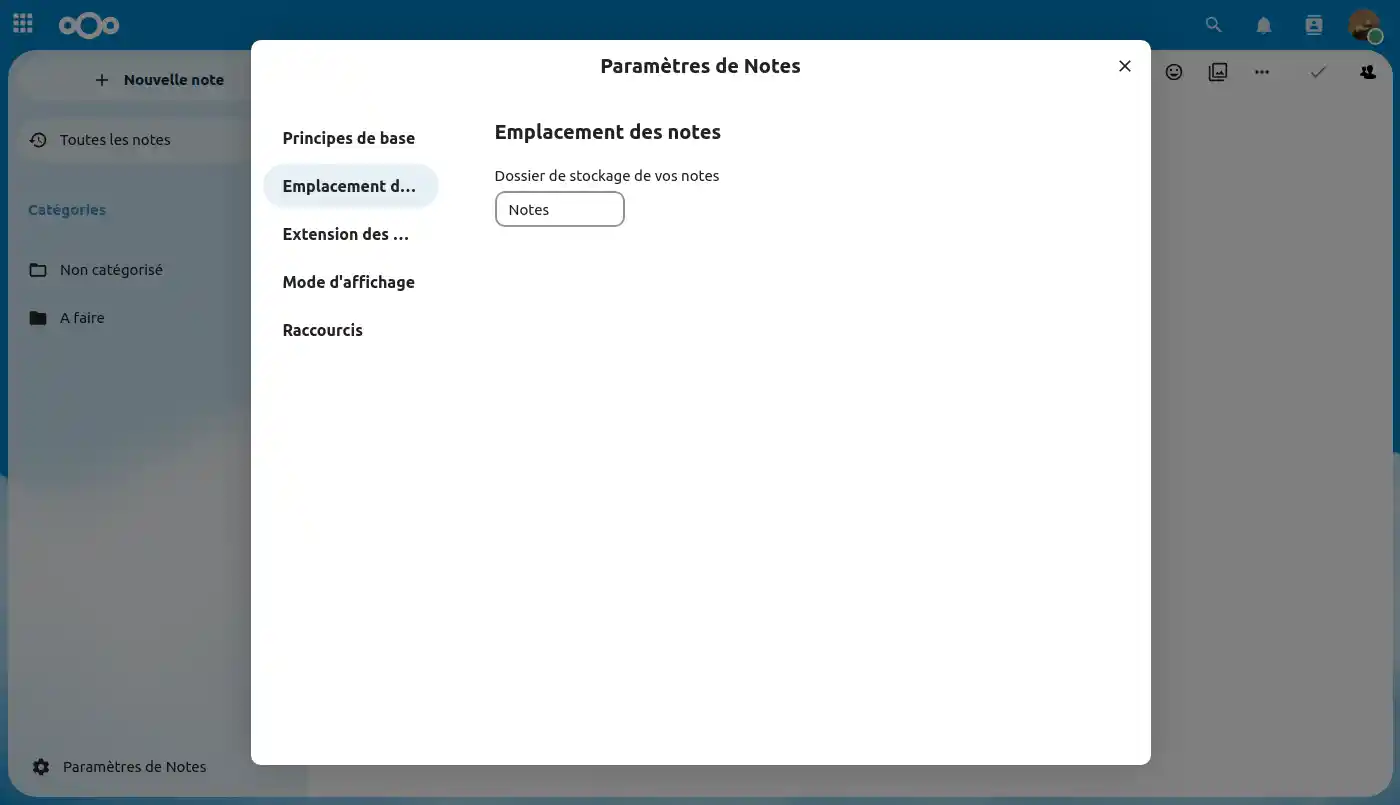
Next, you can set the location in your file space where the various notes you have will be stored.
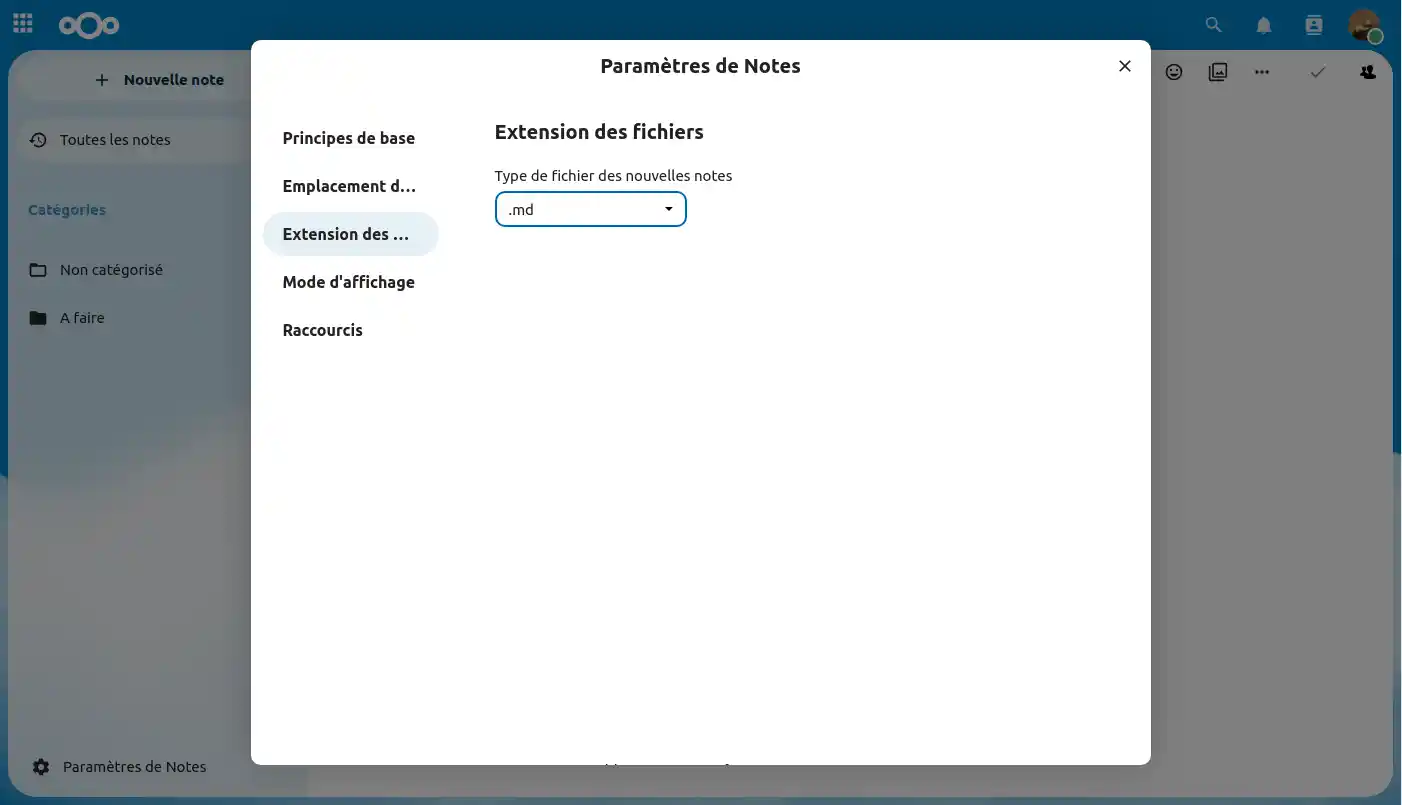
Here you can set the file extension for your notes.
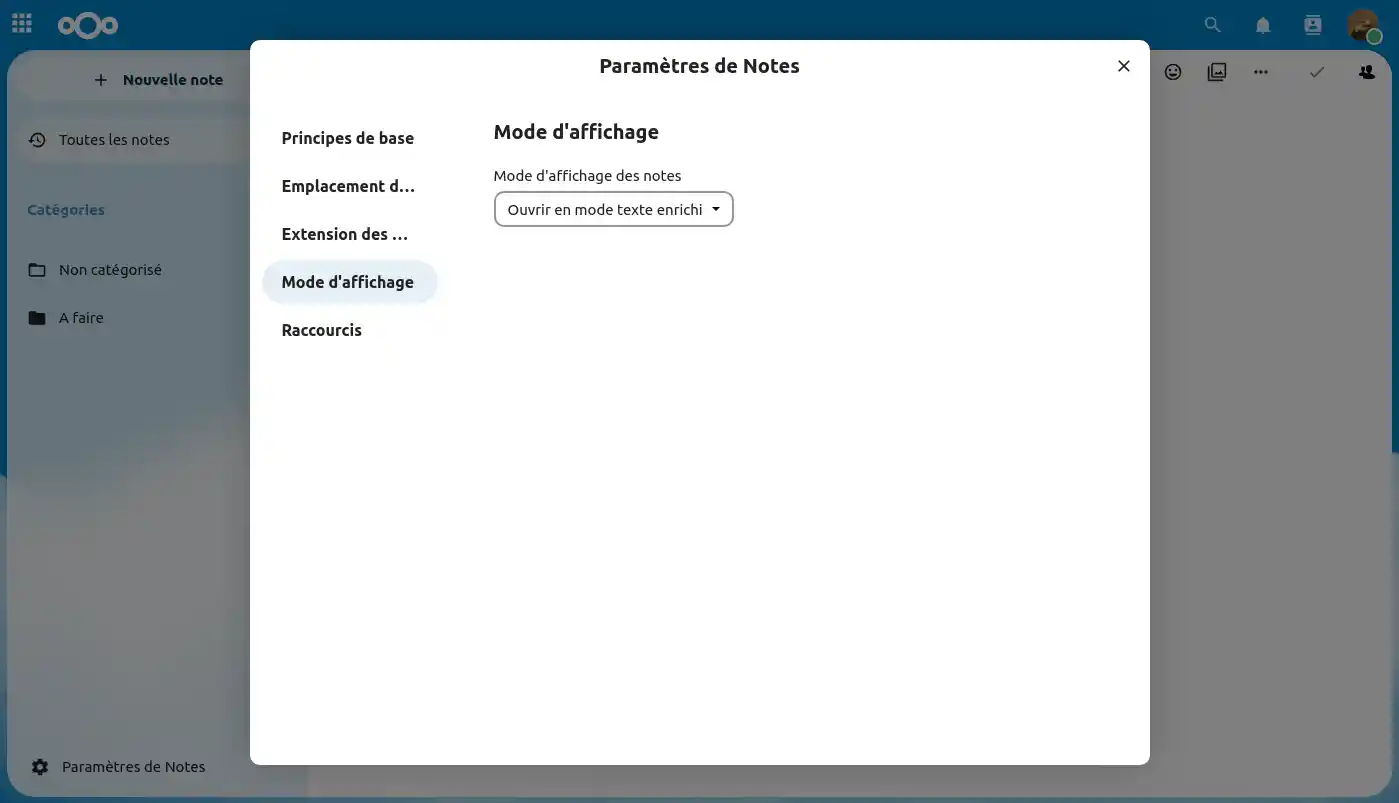
In this section, you can select the display mode that best suits your needs when writing your notes.
You can choose from three different modes:
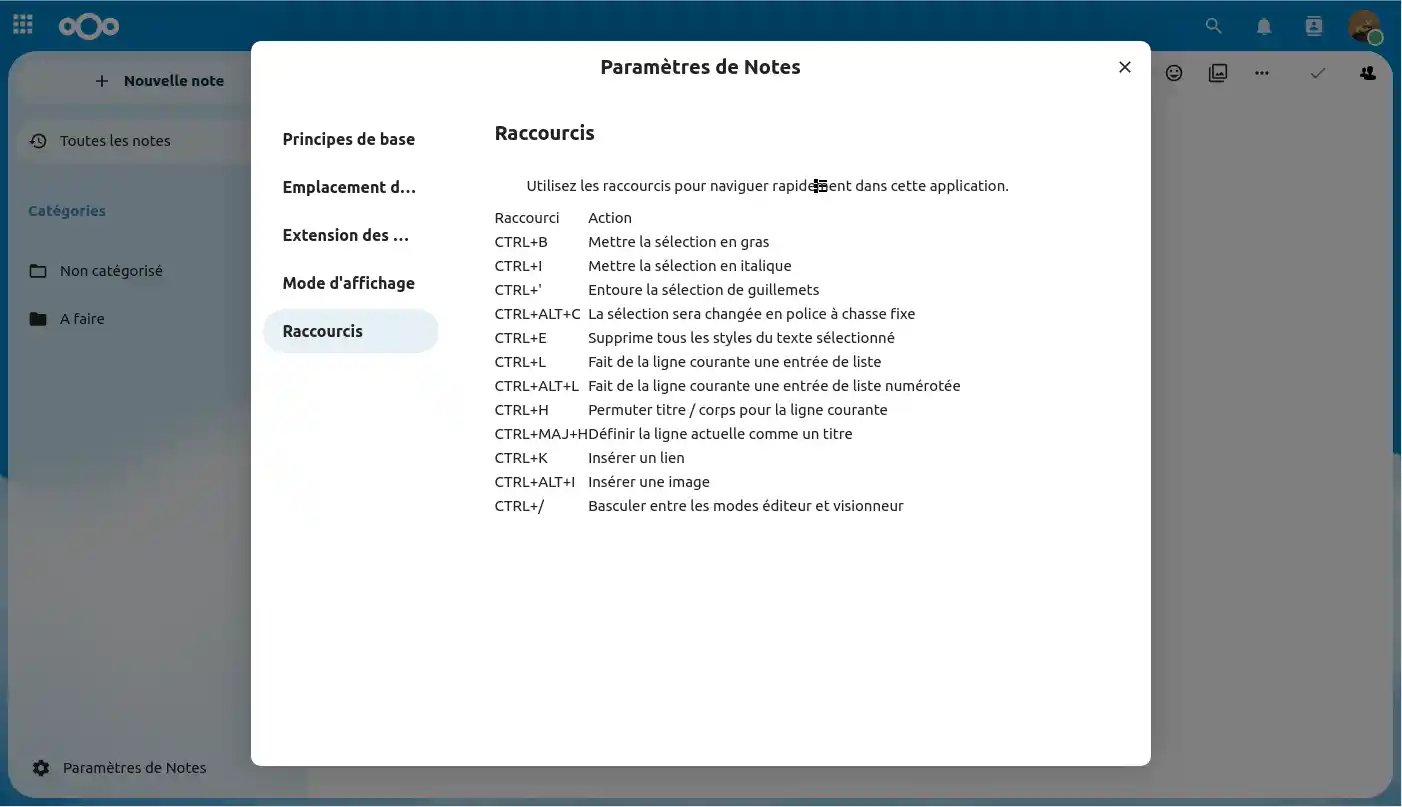
Finally, in this section you can customise various keyboard shortcuts to use when editing your note.
You now know how to :
Thanks to this article, mastering Nextcloud'sNotes app should be a breeze for you 🎉 ! Feel free to explore all these features to boost your productivity and keep your thoughts well organised 📝.
Thanks for reading all the way through! If you have any questions or feedback, leave us a comment below 👇! Your feedback is invaluable in helping us improve our services.
Rate this article :
This article was useful to you ?
Yes
No
9mn reading
How to designate a user as a Nextcloud Pro manager
11mn reading
OnlyOffice on Nextcloud: The Integrated Editor for Increased Productivity
14mn reading
Customise your Nextcloud cloud storage: your logo, your wallpaper,
11mn reading
Communication with Talk: Discussion interface on Nextcloud Pro