Rate this article :
This article was useful to you ?
Yes
No
Vous avez noté 0 étoile(s)
Sommaire
Procédure
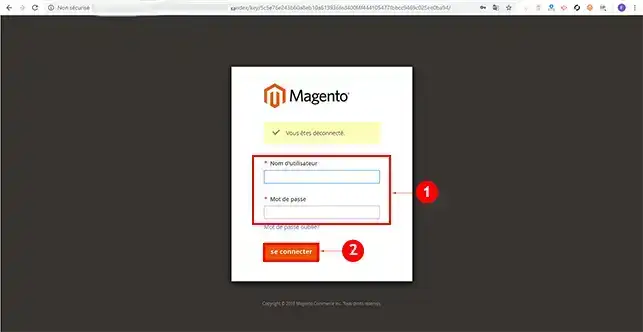
1. Connect to your Magento online shop administration dashboard.
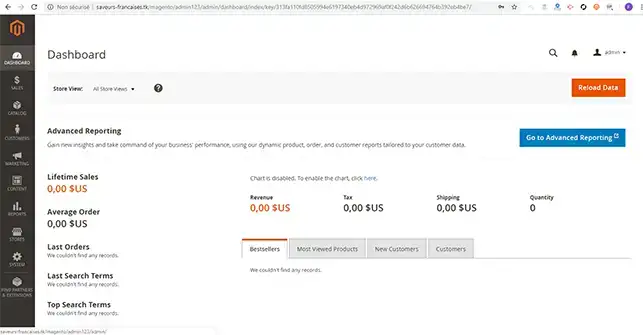
2. Once you have logged in to your online shop administration panel, you will see the default administrative table. This table allows you to quickly view your best sales, most popular products, new customers and your turnover.
Under the"Sales" tab, you can view your orders, invoices, deliveries, credit notes and all the transactions carried out on your online shop.
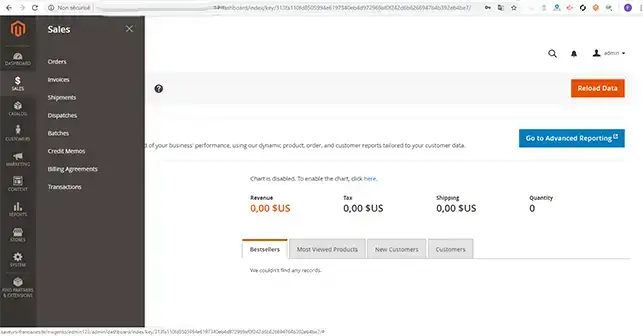
This tab also allows you toapply mass actions to orders (cancelling or suspending an order, for example). You can also check the details of each order placed. However, it should be noted that Magento 2 no longer allows you to modify an existing order. To do so, you need to cancel the order and create a new one.
1. In order to add products, you first need to create your different categories. To create a category, click on the"Catalog" menu and then on"Categories".
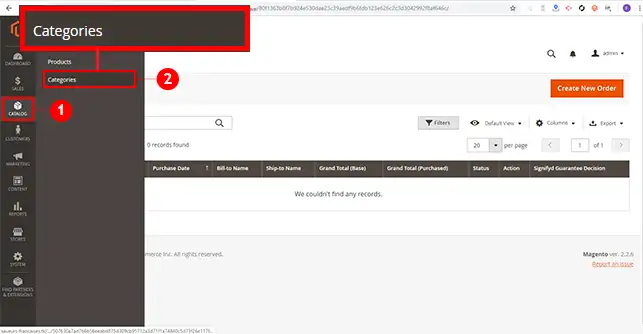
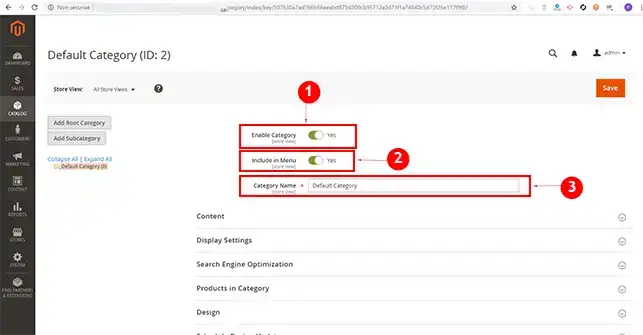
2. You will need to fill in the form to add the category. It is filled in as follows:
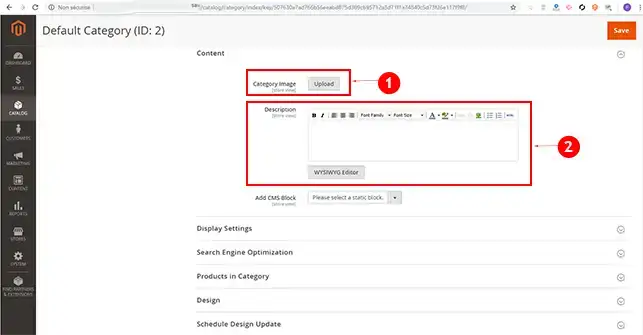
3.Content: Allows you to define an image for your category and insert a description.
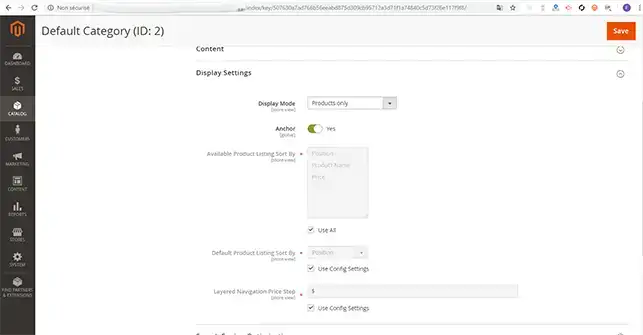
4. The"Display Name" section allows you to define whether it is a product or a static block. It also allows you to define the product currency.
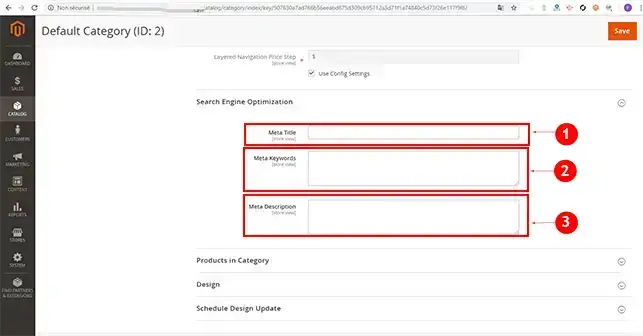
5. Magento allows you to define a description, keywords and a description for each product category. The"Search Engine Optimization" section must be completed in order to increase the referencing of your online shop, as well as the number of sales.
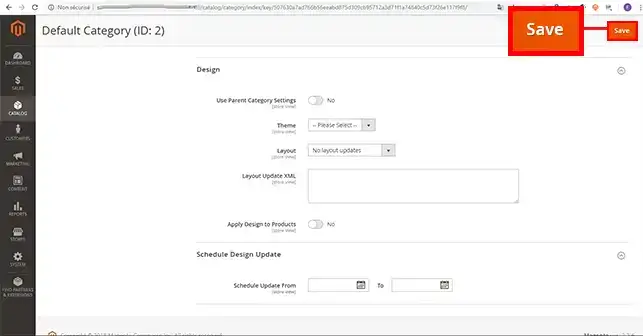
6. Once all the forms have been completed, click on the"Save" button to save your category.
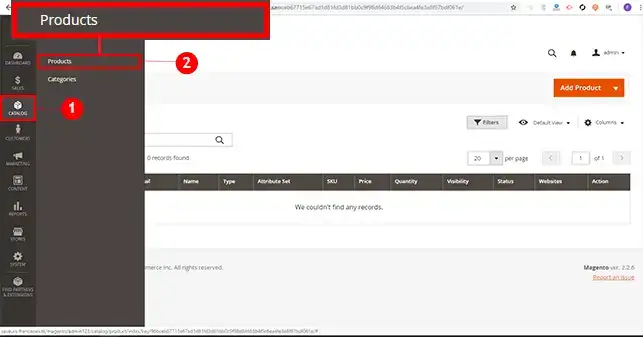
1. Click on"Catalog" in the menu of your Magento dashboard and then on"Products".
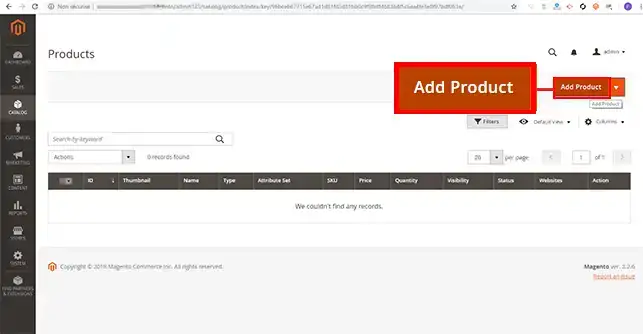
2. Click on the "Add Product" button.
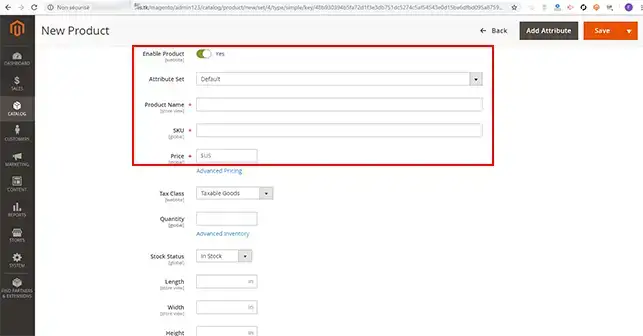
3. Fill in the form to add the product as follows:
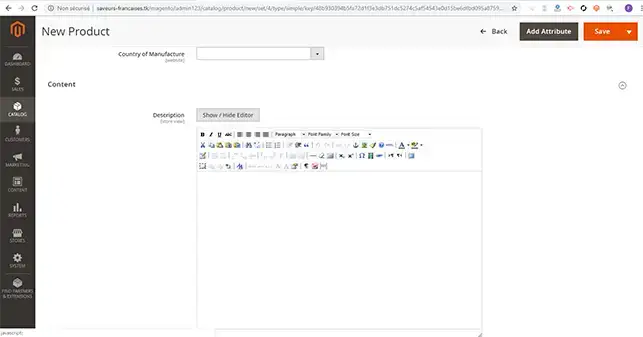
4.Content: Allows you to add a short or long description of your product.
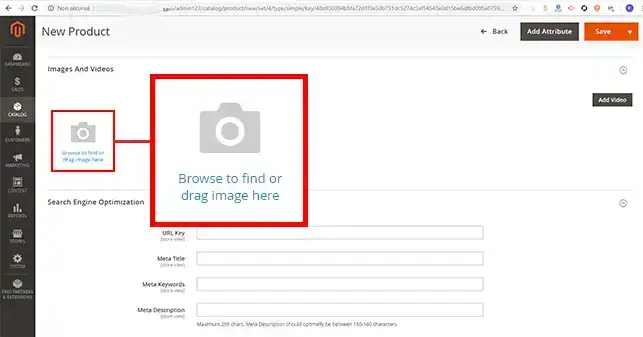
5. You can insert images or videos. To do this, go to the"Images and Videos" section.
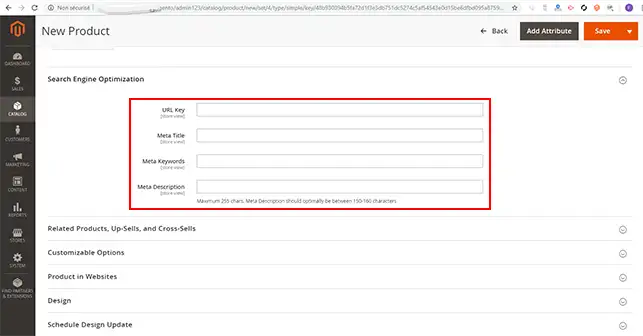
6. As with the categories, the"Search Engine Optimization" section allows you toadd a meta description, keywords and a title to your product.
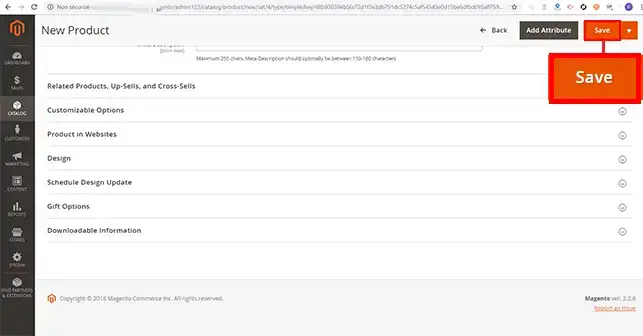
Once you have filled in all the information on the form, click on the"Save" button to save your product.
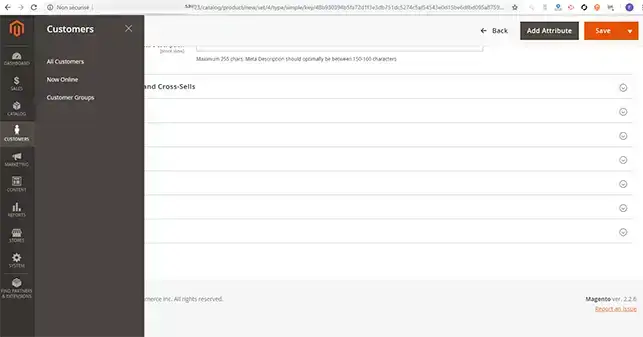
Under the"Customers" tab you can find the"All Customers" and"Now Online" options.
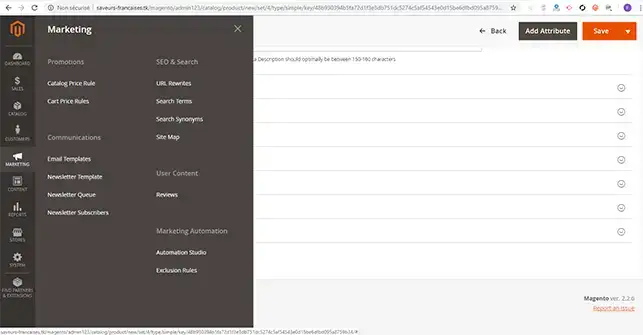
Magento provides by default a complete pack of marketing tools.
This tool allows you to do the following:
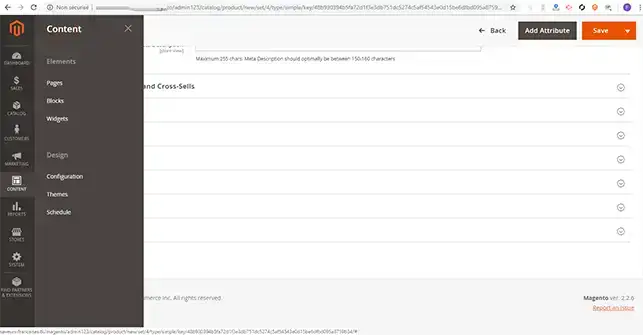
The Content menu lets you manage the content and design of your online shop. Choose the parameters for adding, customising and deleting CMS pages and widgets. Go to this section if you want to install and configure a theme or schedule automatic changes to your current theme.
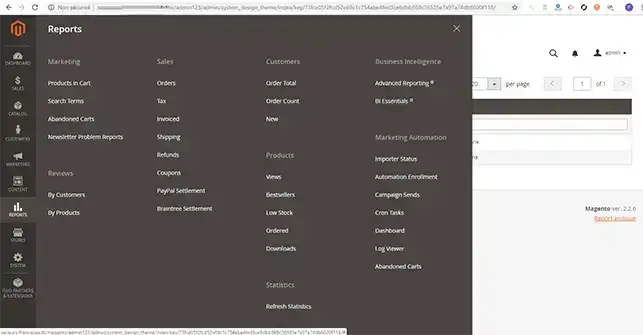
The 'Reports' tab lets you view the activity logs for your online shop. Thanks to this section, you can view your customers' opinions, consult sales reports and your website statistics.
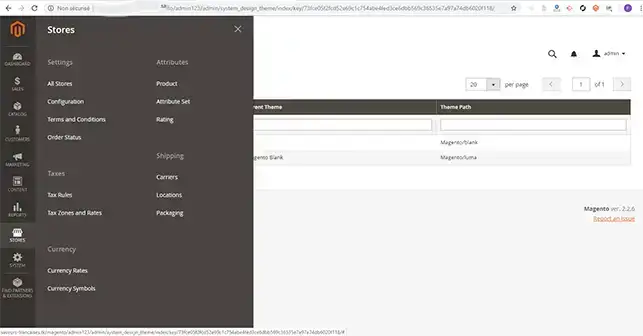
The Stores tab lets you configure your entire Magento online shop, including taxes, currencies and product attributes.
You can now manage your Magento online shop on shared hosting with LWS. You can also add new product categories and new products. You can also check orders and view your customers.
Don't hesitate to share your comments and questions!
Rate this article :
This article was useful to you ?
Yes
No
2mn reading
How do I switch my shared WordPress web hosting?
0mn reading
How do I migrate from shared hosting to a VPS server?
2mn reading
How do you initialise your shared hosting account?
1mn reading
How do I resolve the Err_Connection_Timed_Out error?