Rate this article :
This article was useful to you ?
Yes
No
Vous avez noté 0 étoile(s)
Sommaire
Procédure
1. You will need to download the myLittleAdmin archive from this address, then unzip it using software such as winrar for example:
http://panel.lws.fr/logiciel/mylittleadmin.zip
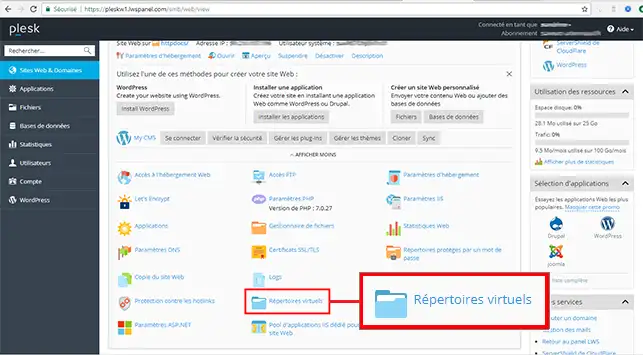
2. Create a directory by clicking on"Virtual directories".
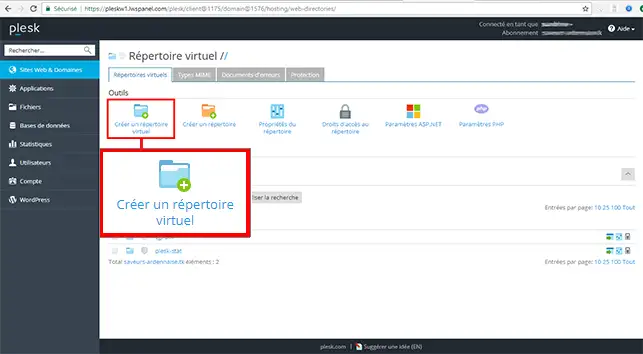
3. Then click on"Create a virtual directory".
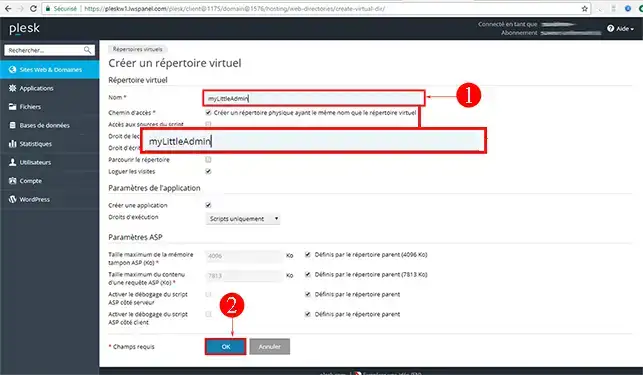
4. Enter the name of your choice (which in my case will be myLittleAdmin) and click"Ok".
5 Transfer all the files you have extracted via FTP and then transfer them to the new folder you created in step 4.
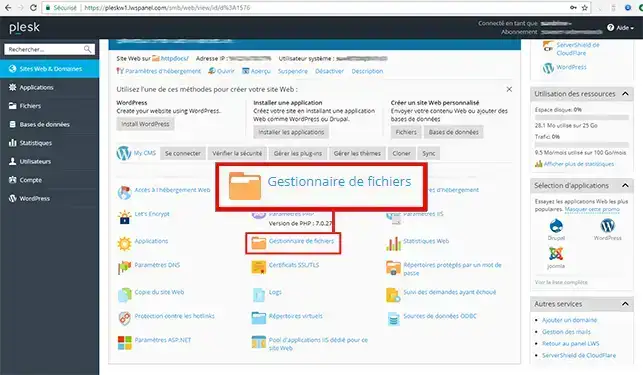
6) Go to your file manager:
7. Go to the folder you have just created (in this case, it is called "myLittleAdmin"):
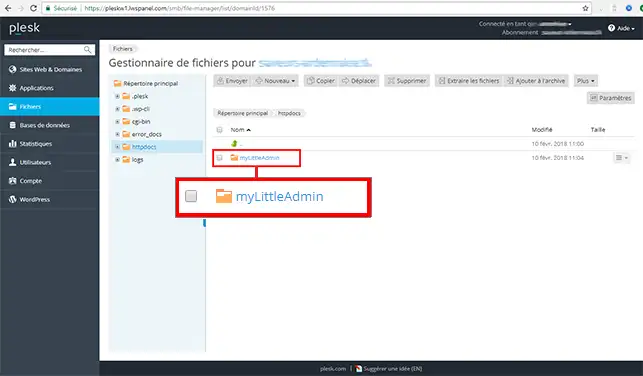
8. Go to your bin folder:
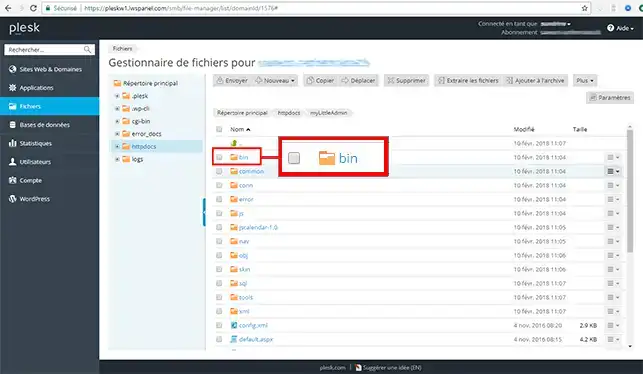
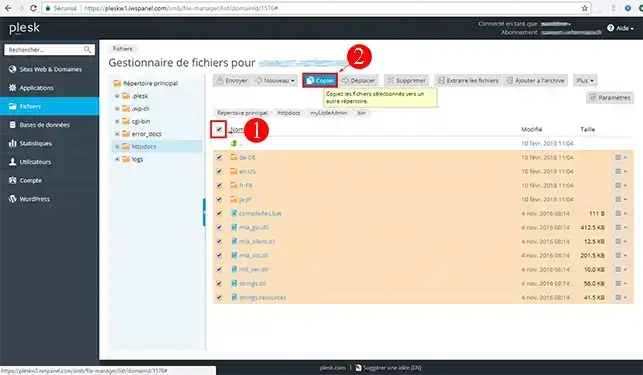
9. Select all the files and click on"Copy":
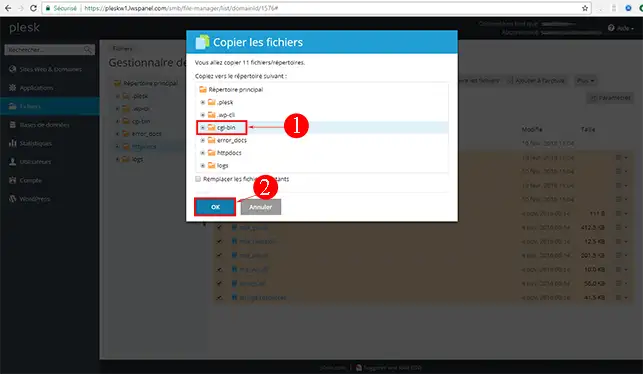
10. Copy all the files you have selected into the"cgi-bin" folder, then click "Ok".
11. You will then be able to connect to myLittleAdmin via this type of url: http: //votreNomDeDomaine.fr/myLittleAdmin (the url will need to be adapted according to your domain name and the virtual directory you have created).
All the differences between these two versions can be found in this article: MyLittleAdmin features
Rate this article :
This article was useful to you ?
Yes
No
1mn reading
How do I create a database in Plesk?
0mn reading
How do I create an ODBC link in Plesk?
0mn reading
How do I export a database to Plesk?
1mn reading
How do I import a SQL Server database from Plesk?