Rate this article :
This article was useful to you ?
Yes
No
Vous avez noté 0 étoile(s)
Sommaire
Procédure
Go to the address contained in the delivery e-mail. The URL will be in this form: https://vpsXXXX.serveur-vps.net. For example, if your vps number is 12345, you should go to the address: https://vps12345.serveur-vps.net/ .
You should reach this page:
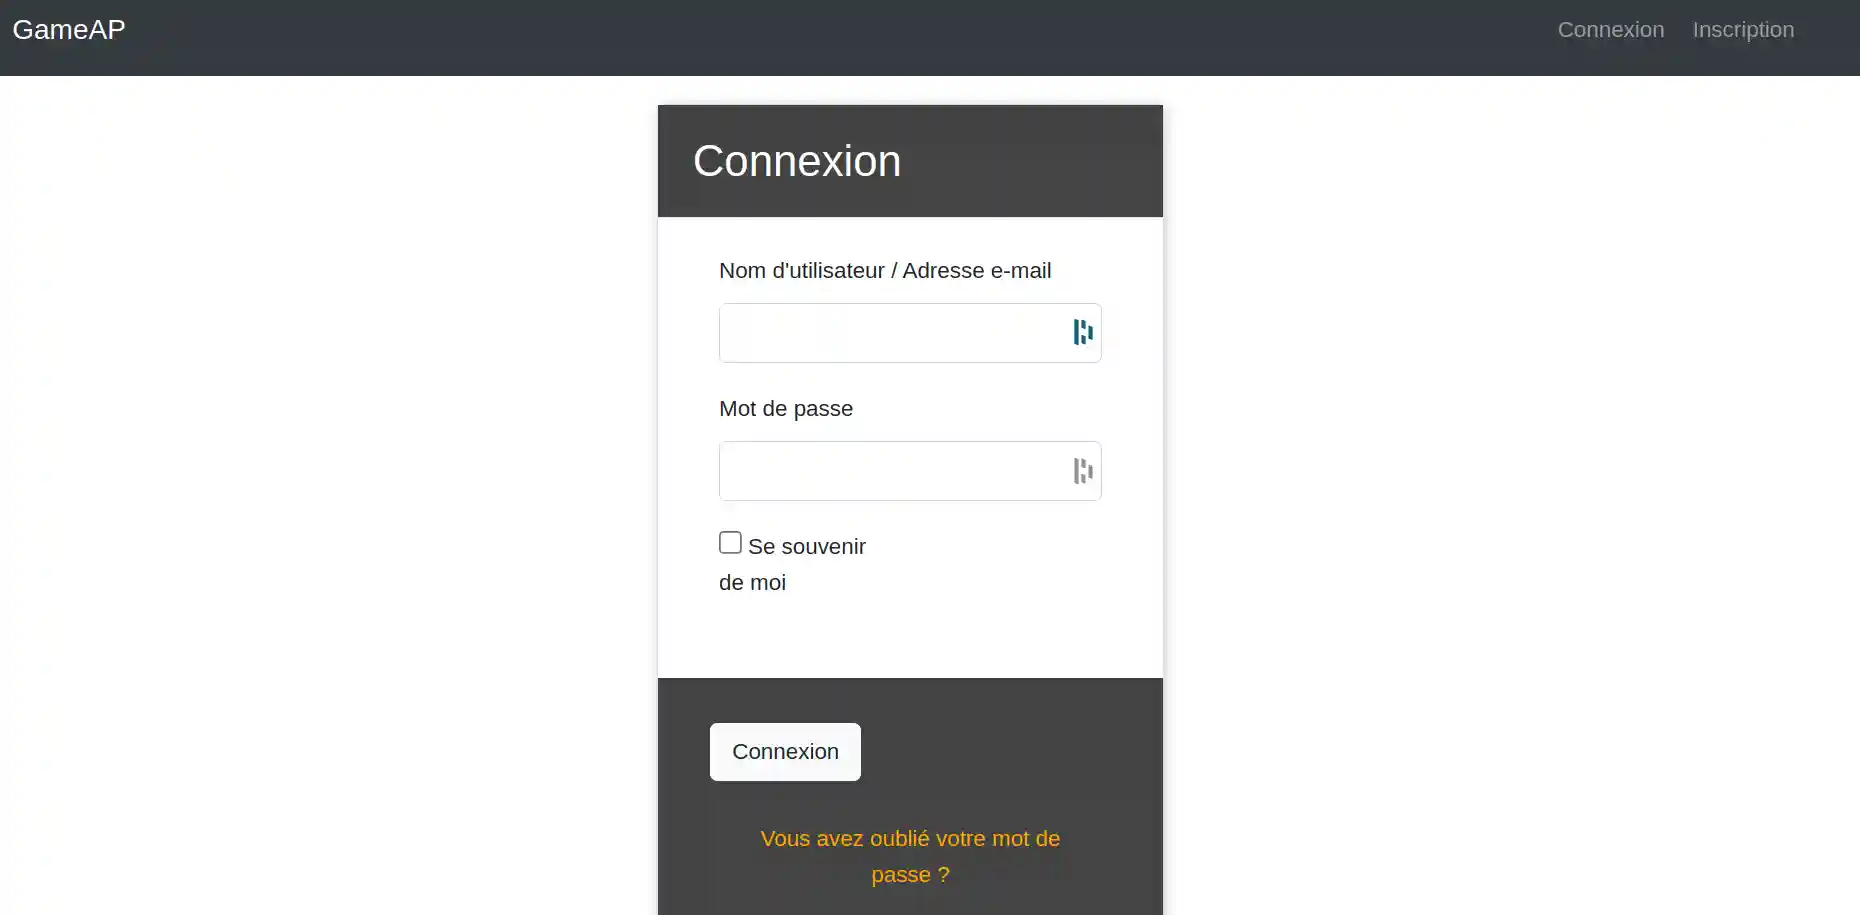
[
Fill in the required fields using the username and password provided in the delivery email:
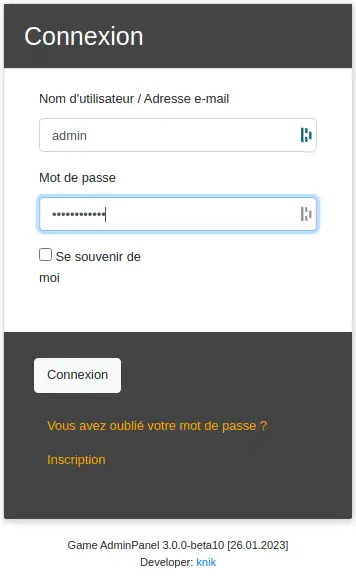
You should arrive at this screen:
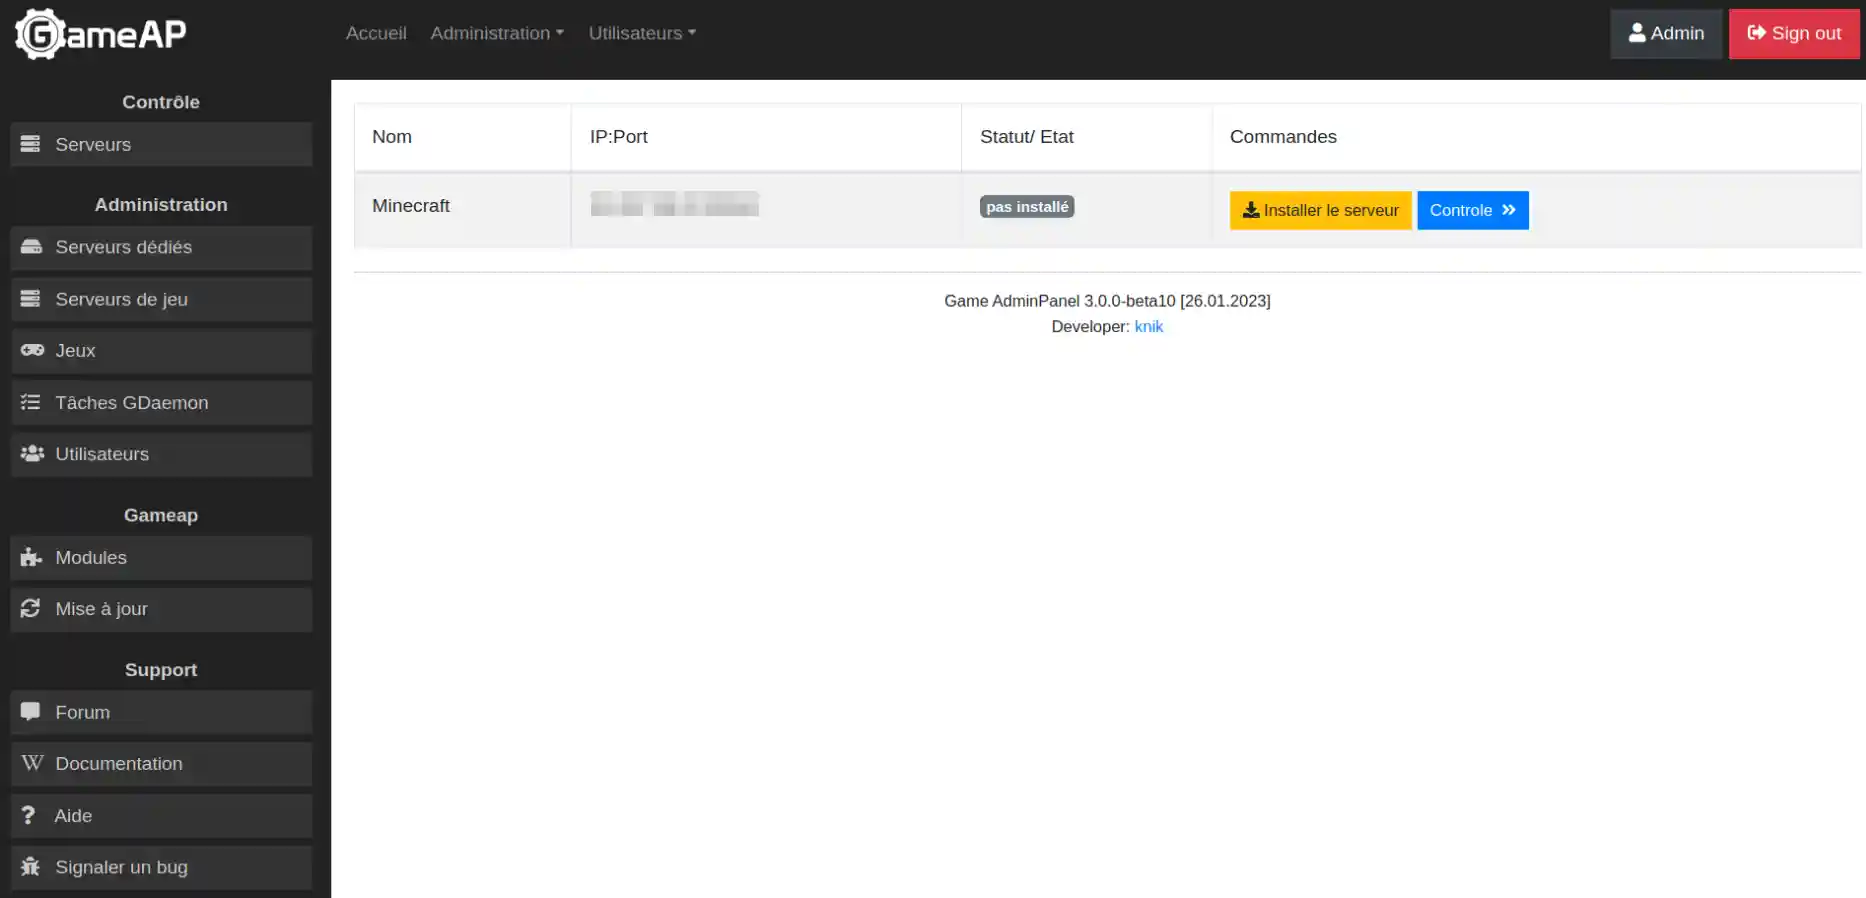
Start the installation of your server by clicking here:

Confirm your choice

A loading bar will appear:

At the end of the loading process you will receive confirmation that the application has started:

You should arrive on this page where, for the moment, the server is offline:

Your first server can be put online, but it will be in 1.18.2. If you are happy with this, go on to step II.c. If you wish to have a server in another version :
You are going to create a second server on which you will set the "multicore" mode whose script authorises the change of version among the available versions that you can find at this link(link):
To do this, go to the servers tab:
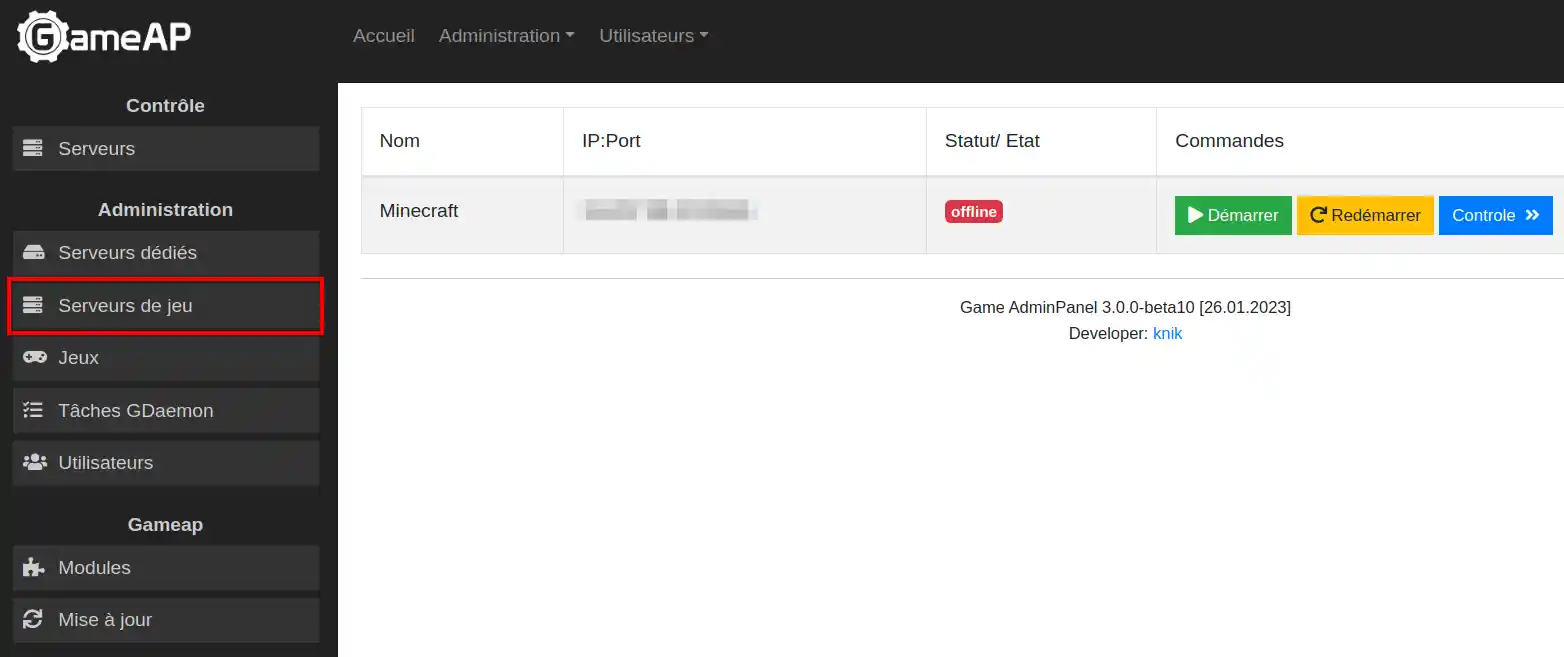
Then click on create :

You should arrive on this screen:
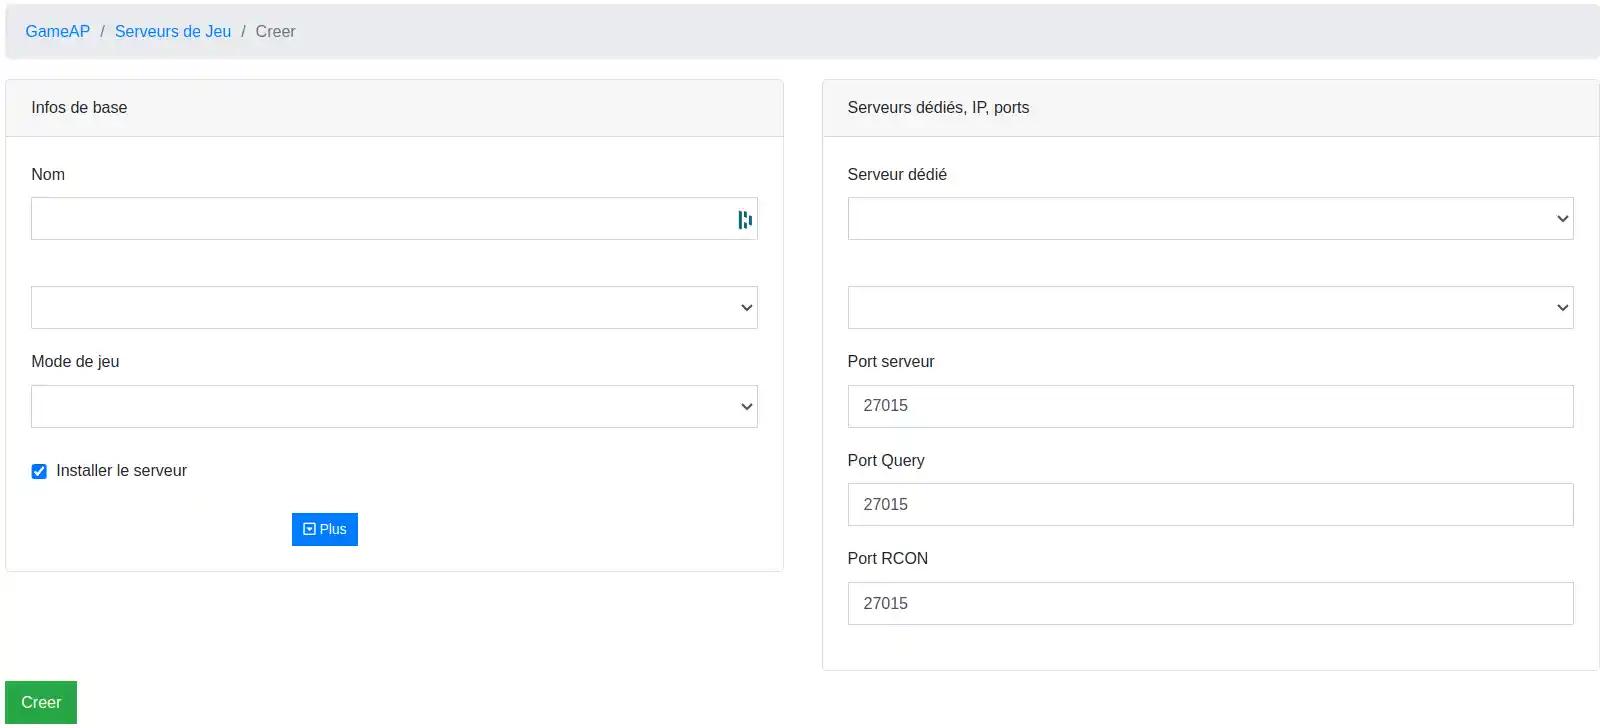
Fill in the boxes as follows:
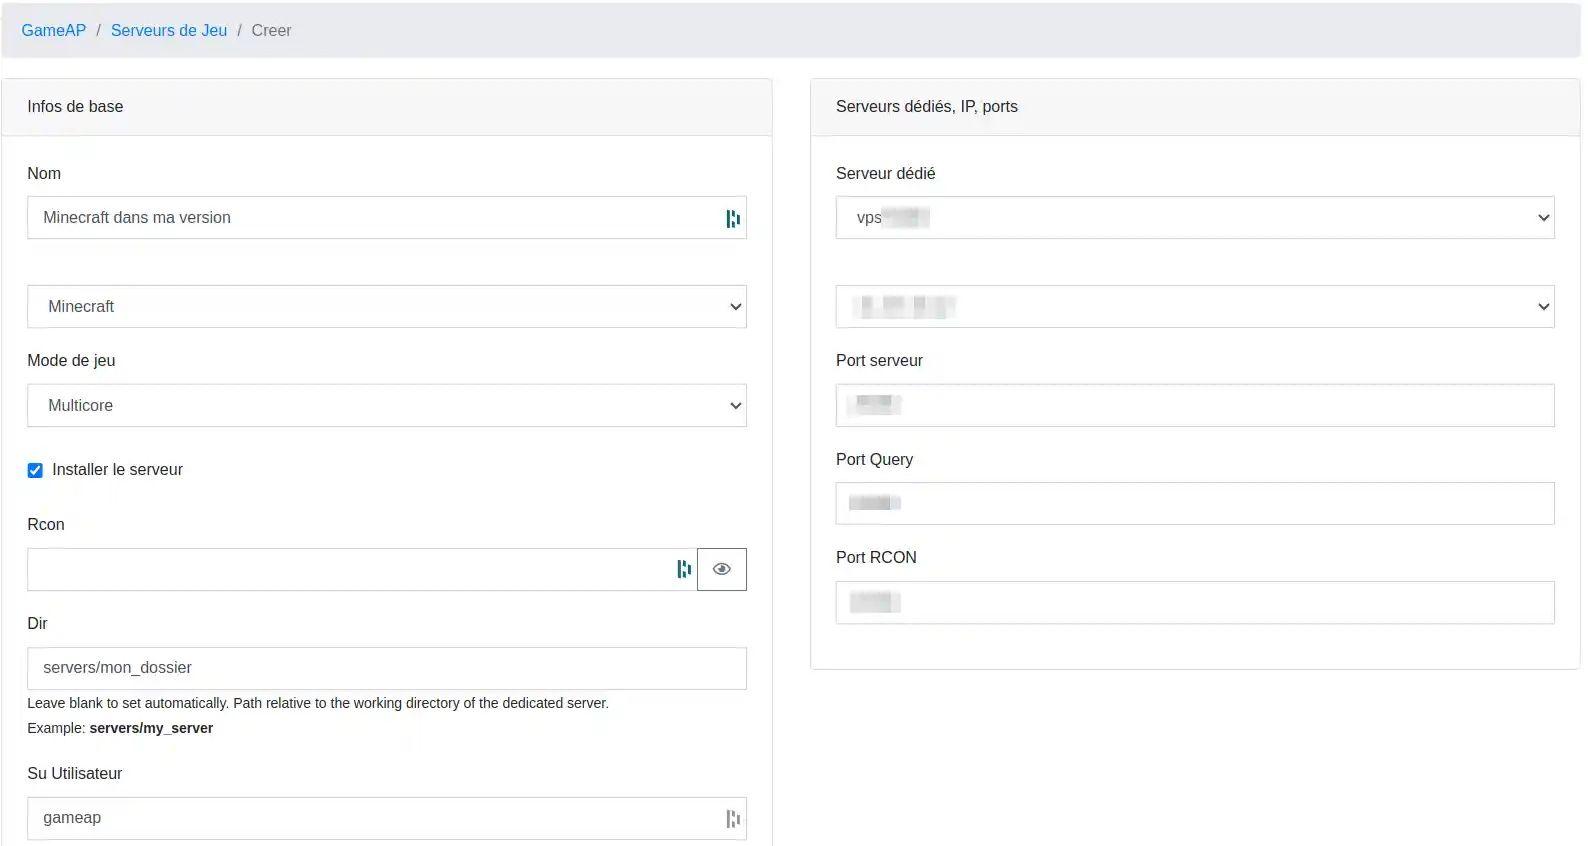
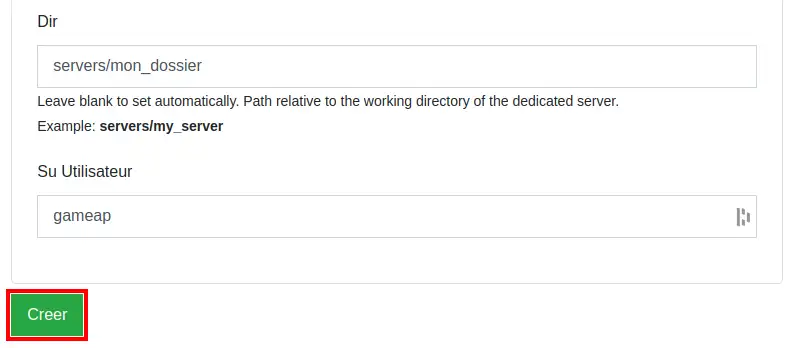
Then click on create at the bottom left of the page:
You should see that your server has been created:
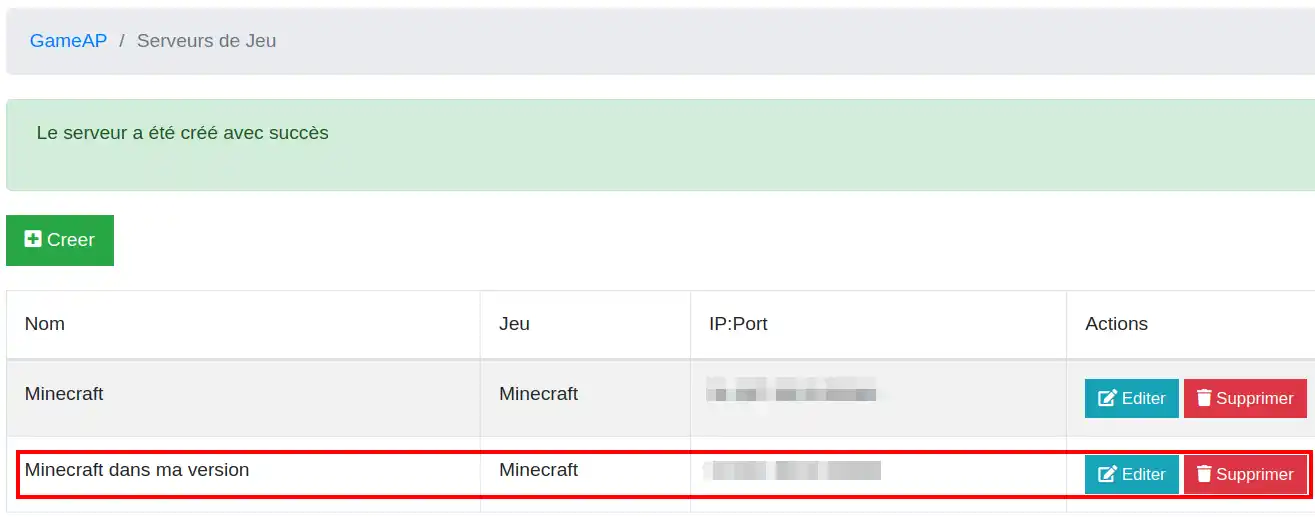
then press edit before launching it:
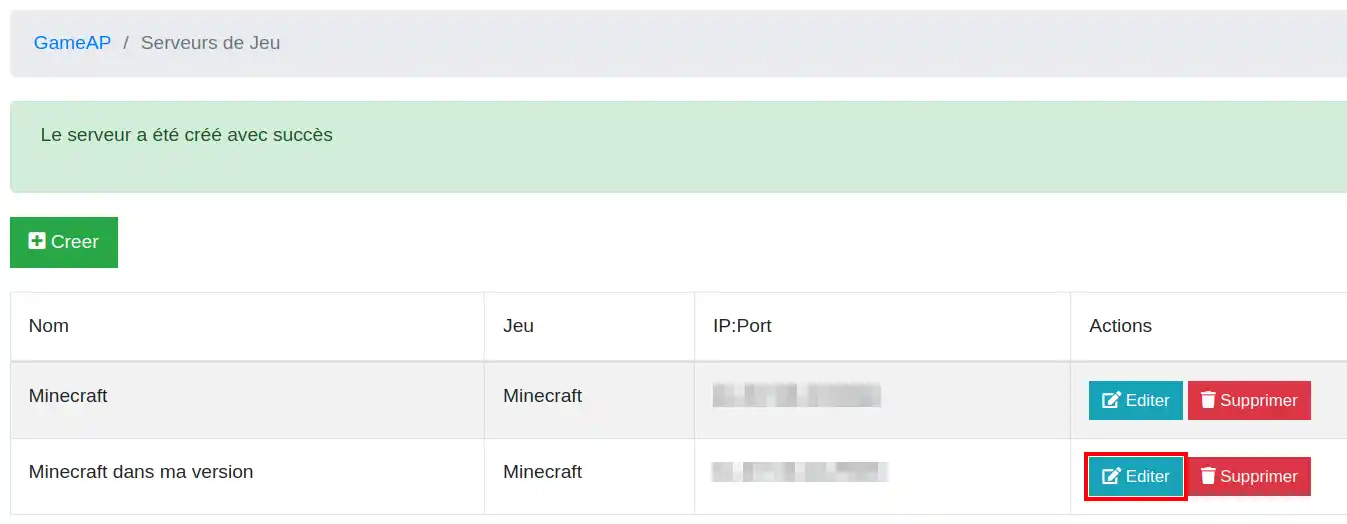
In the edit screen, which should look like this, go to control :
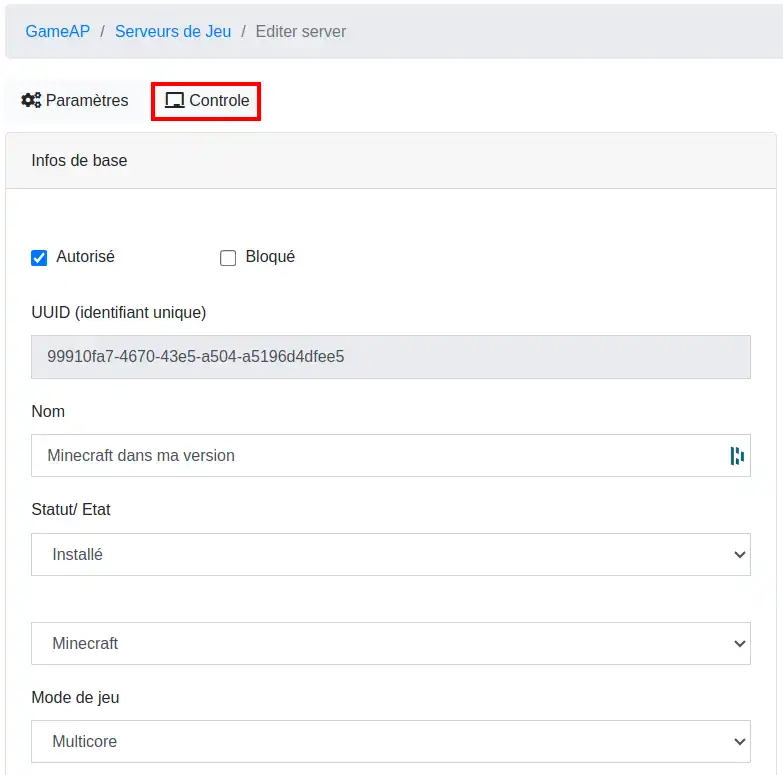
Then go to Settings:
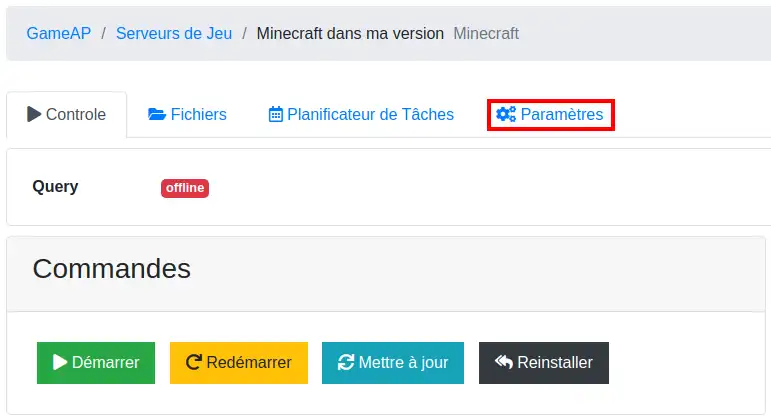
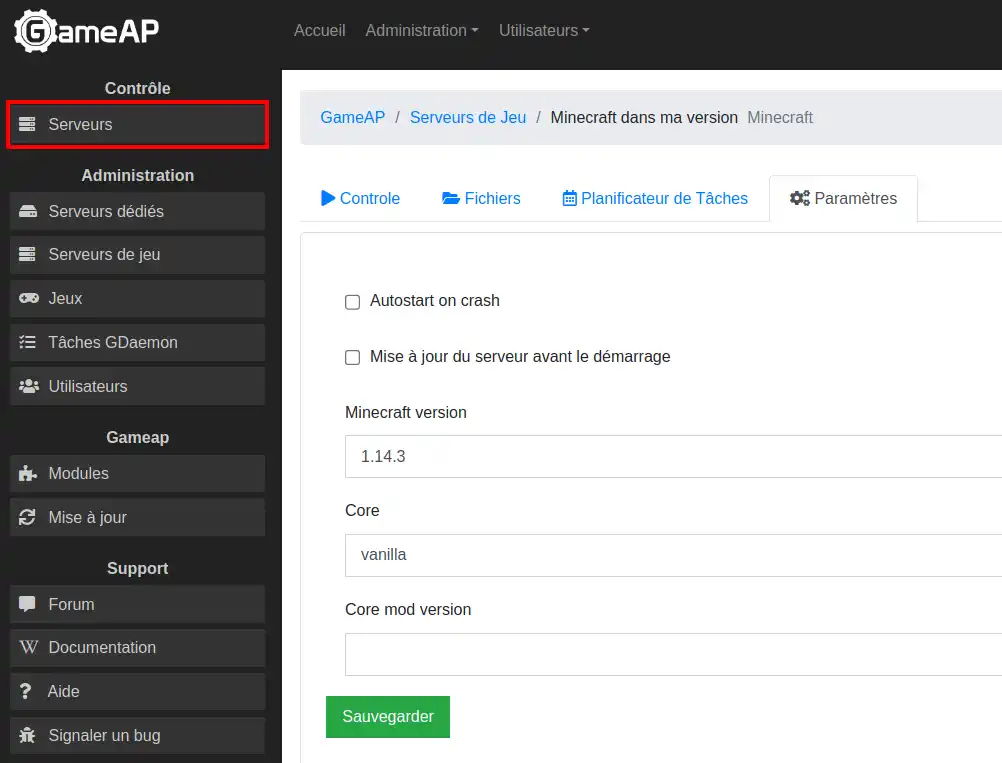
Once in settings, change the version to the one you want from the versions available(see here):
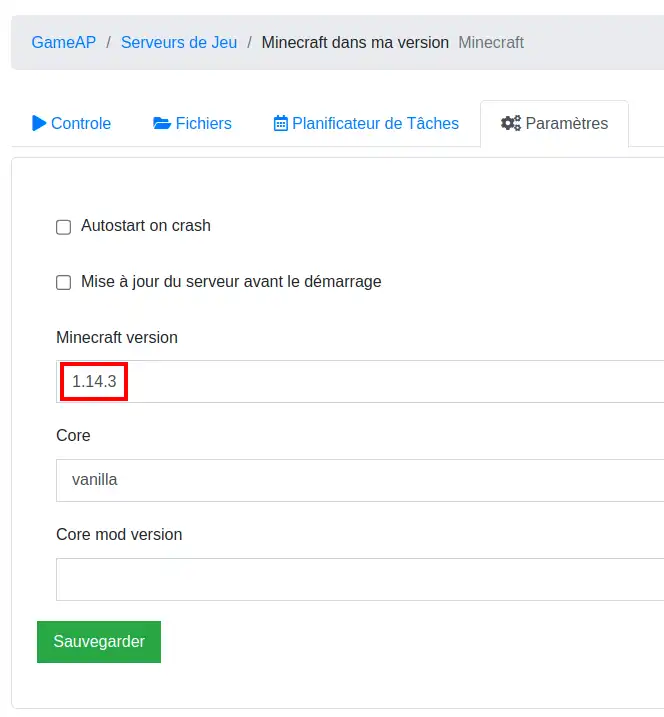
Then click save, and you can move on to section II.c .
Click on the tab :
Click this button:

An alert screen will ask you to confirm your choice:

Then a second screen will display the progress of the task:

And a final screen will tell you that the task has been successfully completed:

You should get this screen:

You can check the status of your server from the console:
Click here:

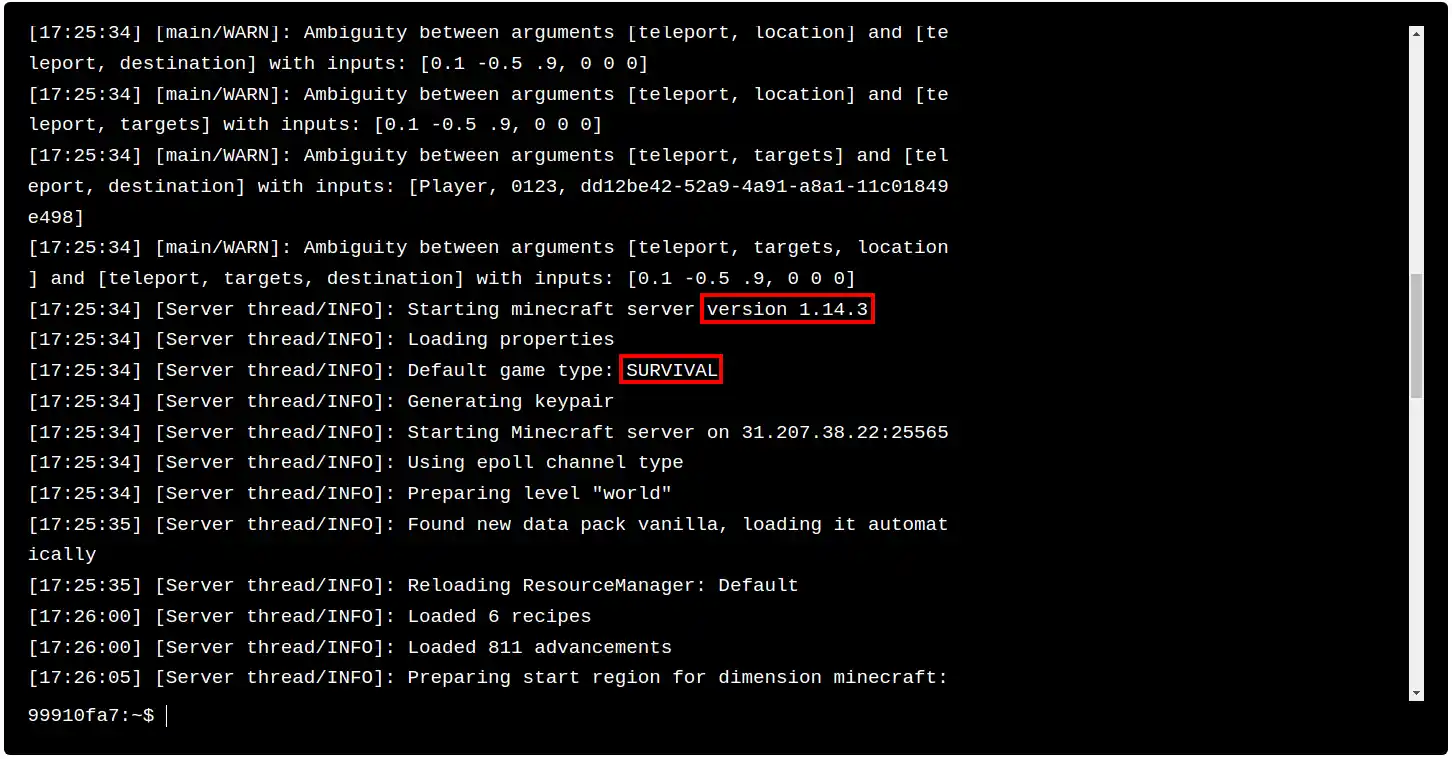
You will arrive on a page where you will find the console where you can enter commands (see help at this link section I). By going back into the console you can obtain important information such as the version or gamemode (see section V for help):
You can also use these commands:
| Command | Explanation |
|---|---|
| /save-all | Saves all the worlds on the server. If the map is very large, this operation may take some time. |
| /save-on | Activates automatic server backup (enabled by default). If already enabled, returns an error. |
| /save-off | Disables automatic server backup. If already disabled, returns an error. |
| /stop | Turns off the server. Can be run from inside the game or from the console. (although the advantage of launching it from the console is limited as there is a stop button on top of the console). |
On your computer, launch the Minecraft game in the version that corresponds to the one on your personal Minecraft server.
You should see the welcome screen:
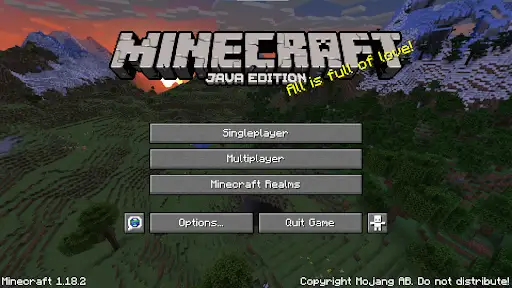
Check that the version matches that on the server.
If the versions match, click Multiplayer.
If this is the first time you have clicked on multiplayer, a warning will appear about multiplayer play, explaining that mojang does not manage the servers and therefore cannot be held liable for any disrespect that may occur online. Click on "Proceed" depending on the language of the game.
You will arrive on this screen:
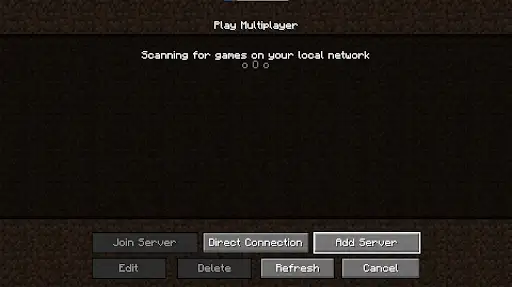
Click on Add a new server.
You will arrive on this screen, where you can name your server as you wish:
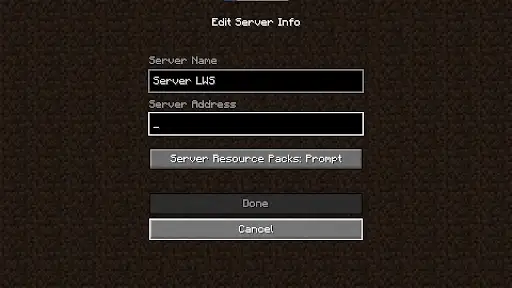
In the "Server Address" box, enter the server's IP address and port. You can find the IP address and port of the server in question on GameAP on the start-up screen in the servers section in the form: IP:Port:

For example 152.147.78.227:54195.
IP: 152.147.78.227
Port: 54195.
Press "Done" once this information has been entered.
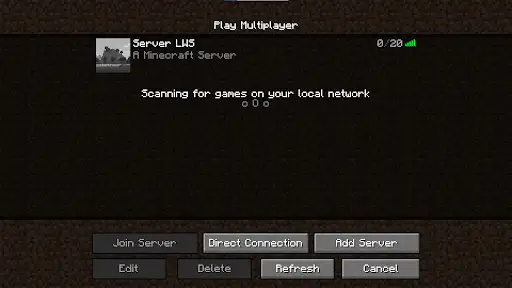
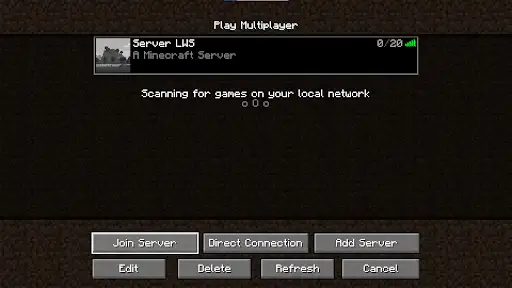
Refresh with the "Refresh" button and you should see your server online. And you should be able to connect to it by clicking Play.
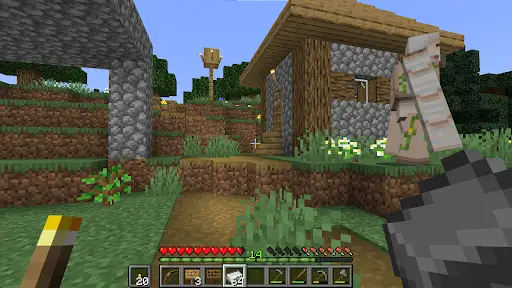
Enjoy the game!
To go further and manage access to the server, learn the commands, be an operator and manage your rights, etc., consult the help link:
https://help.lws-hosting.com/en/Administer-Minecraft-server-acces-commands-lists
Rate this article :
This article was useful to you ?
Yes
No
32mn reading
Guide to administering your Minecraft server