Rate this article :
3/5 | 3 opinion
This article was useful to you ?
Yes
No
Vous avez noté 0 étoile(s)
Sommaire
Procédure
Once you have added email addresses, you can use the cPanel tools to configure your email accounts and access your email.
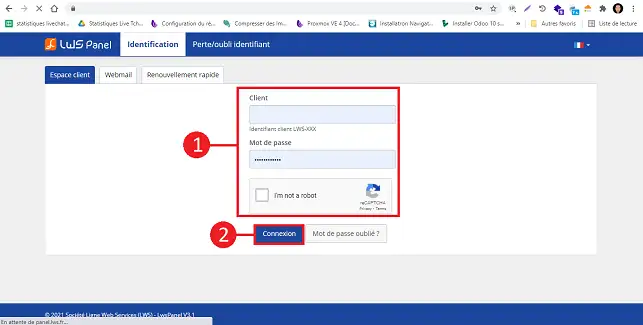
To access the email configuration settings on cPanel, you must first log in to your LWS Panel
Then enter your LWS username and password and click on the Login button.
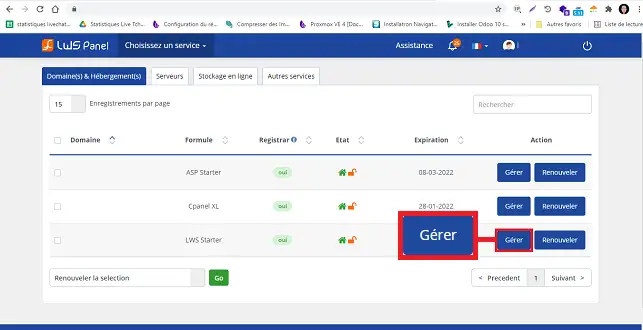
Then click on the blue Manage button located to the right of the domain concerned.
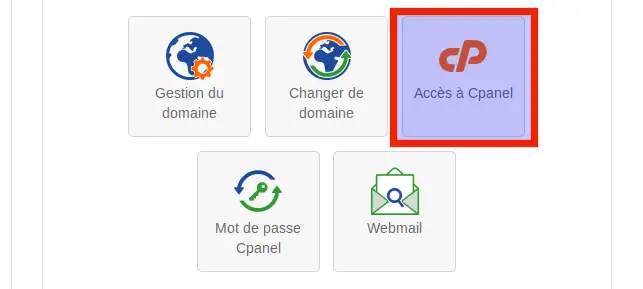
In the Management Panel section, click on the Access to cPanel icon.
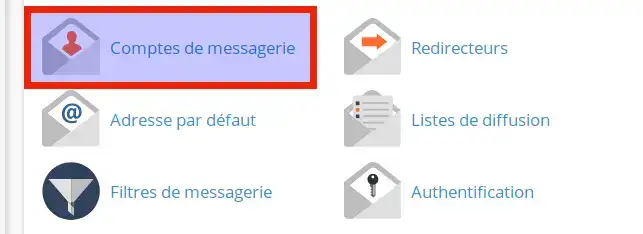
Then click on the Email Accounts icon
Then click on the Mail Accounts tab
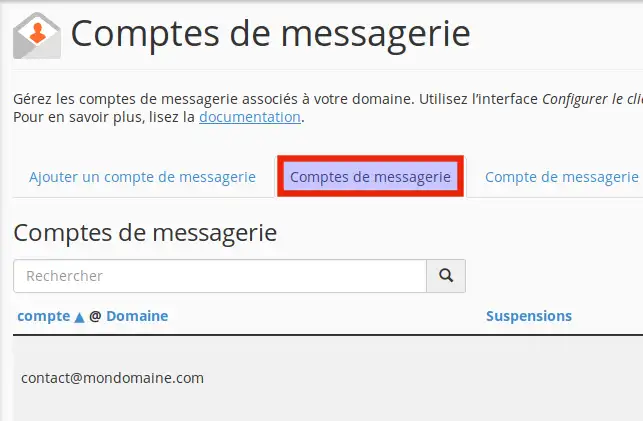
In this section you will see the list of email accounts that you have previously created.
You can search for an account by entering it in the Search box and then clicking on the magnifying glass icon.
In our case we only have one email address contact@mondomaine.com
On the right is another menu showing the various configuration options for our email account

We'll go into more detail on these different sections in the next section.

Click on the Access Webmail link to check your mailbox:
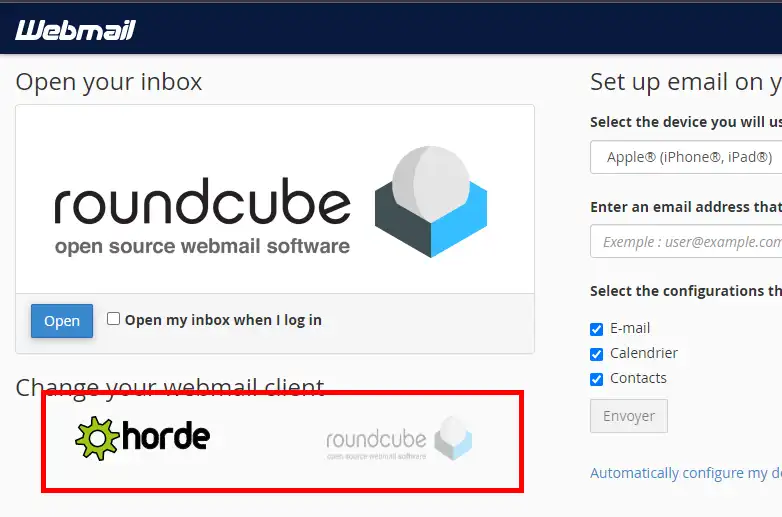
cPanel offers two types of webmail, Horde and Roundcube.
You can click on your preferred webmail to open your email address.
You can also click on the Open my inbox when I log in checkbox to automatically open your preferred webmail without having to choose it again the next time you log in.
You can click on cPanel Webmail Home in your webmail to return to the choice of webmails:
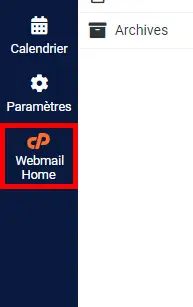
Webmail Home on Roundcube

Webmail Home on Horde
Let's move on to the Disk and Quota tab.

The quota of an email account defines the amount of mail that the account can store. When the account exceeds this limit, the system returns all incoming mail to the sender with a message indicating that the recipient's e-mail address is full.

You can assign a different value to the mailbox quota.
By ticking the unlimited box, your mailbox will not have a storage space limit.
By clicking on the Manage Disk Usage link, the following content will be displayed.
This option lets you delete old messages from your mailbox to reclaim disk space.

You can choose the email address using the drop-down menu, or you can search for the email if you have a lot of emails configured.
We're now going to click on the Manage link on the right to free up space in our mailbox.
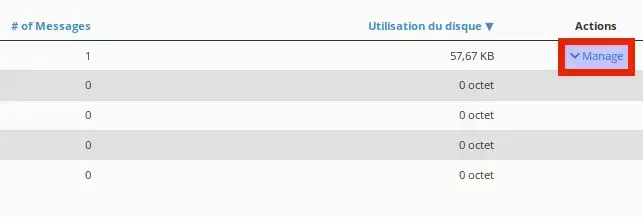
A drop-down menu will appear. Click on it and you'll see the following drop-down list:
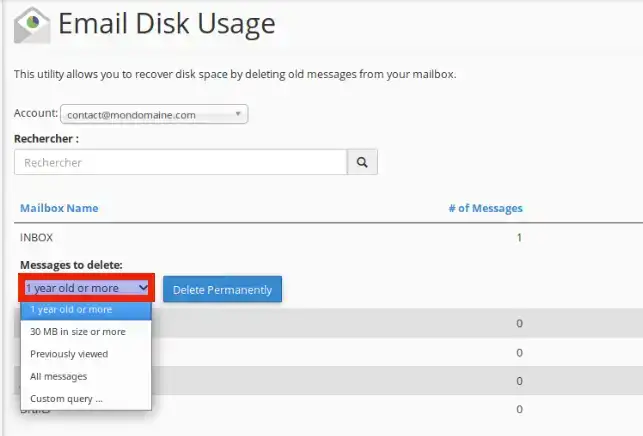
Once you have made your choice, simply click on the Delete Permanently button.
Now let's move on to Manage Suspension.

Use this function to authorise or suspend a user's ability to connect, receive mail or send remote mail.

Click on Allow to authorise, Suspend to suspend the applicable parameter, the Hold option allows you to momentarily suspend mail to be sent and place it in the queue.
Connect: suspends or authorises connection to the mailbox
Receive : suspends or authorises reception for this email address
Send : Allows you to suspend or authorise sending from this email address
Notes:
Now let's move on to the Password and Authentication section :

Use this function to create or change the password for an e-mail account:

Enter and confirm the new password in the appropriate text boxes. You can generate a secure password using the Generate button.
Moving on to Connect Devices :

This feature automatically configures your email client to access your cPanel email addresses.
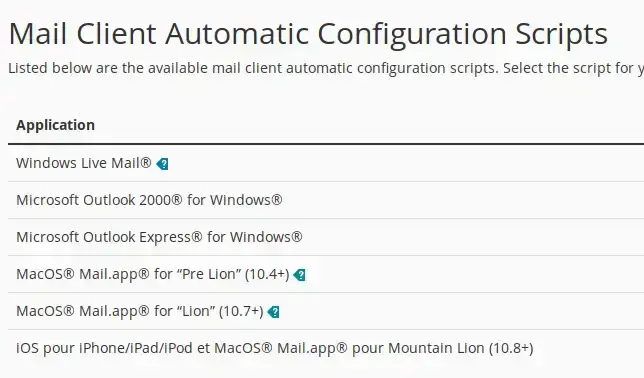
An email client allows you to access your email account from an application on your computer or mobile device (e.g. Microsoft Outlook, Apple Mail).
cPanel provides automatic configuration scripts for the email clients listed above.
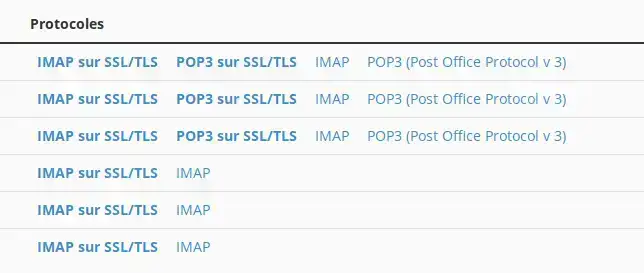
To configure your email client, download the appropriate configuration file from the list.
We strongly recommend that you use SSL / TLS.
Run the script file to automatically configure your email client to use the selected address.
When the configuration process is complete, your email client will automatically open and connect to your email account.
The IMAP protocol only reads your e-mail on the server, it does not download or save e-mails on your computer. Messages that you read or delete will appear as they are on the server and in your e-mail applications.
The POP3 protocol downloads and saves e-mail on your computer. Messages that your e-mail application marks as read, deleted or replied to will not be displayed as such on the server.
The IMAP and POP3 protocols use the SMTP protocol to send outgoing mail.
Using POP3 over SSL / TLS or IMAP over SSL / TLS offers increased security for your connections to the mail server.
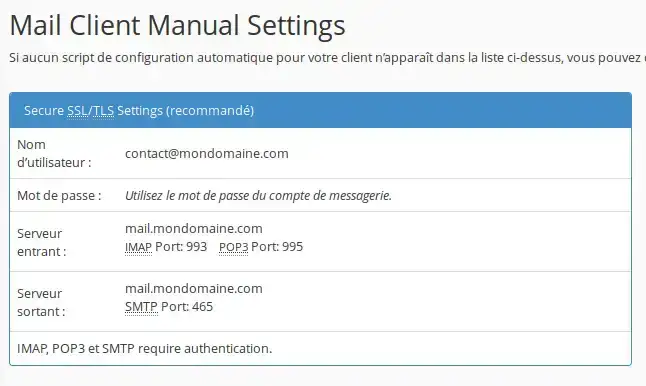
SSL/TLS configuration above
You can also configure your email client manually. Simply enter mail.domain.com for the server name, where domain.com represents our domain.
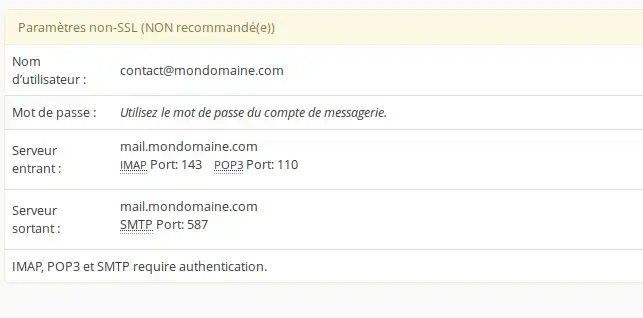
Below is the non-SSL configuration

This option allows you to permanently delete the email account. After clicking Delete, a confirmation message will appear.
Warning: This action permanently deletes all the messages in the account. You cannot undo this action.
Rate this article :
3/5 | 3 opinion
This article was useful to you ?
Yes
No
0mn reading
Configuring your email addresses in email software
3mn reading
What is the difference between an SSL/TLS connection and a non-SSL/TLS connection?
1mn reading
6mn reading